dinner, gluten free, lunch, Savoury dishes, vegan

Sushi, Nigri & Tamagoyaki (Vegan)

Makes 3 servings

If you like Shushi, look no further, this is the only recipe you need.
I have done the hard work for you and tried various ratios of sugar, salt and rice vinegar to make the perfect Sushi rice. All is left is for you to have some fun and explore some different variations like Nigri and Tamagoyaki.
What is the secret to a good Sushi? In my experience using special Sushi rice makes all the difference, along with the right seasoning and a bamboo matt to roll the Sushi.
This recipe will make: two Sushi rolls (which cut into slices will make you about 8 pieces of Sushi each), 5 pieces of roasted red pepper Nigri and 5 pieces of tofu Tamagoyaki.
If you only want to make the sushi rolls, that will make 4-5 sushi rolls.
Let me know if you give it a go by tagging @apinchofzing on Instagram.

Ingredients

Sushi rice
250g sushi rice
3 tablespoons rice vinegar
1 teaspoon salt
1 tablespoon sugar

Fillings and toppings
Sushi rolls:2 nori sheets, 1 small carrot, 1 piece of cucumber, 1 piece of avocado and a little bit of Wasabi
Roasted red pepper Nigri: half a nori sheet, half a roasted red pepper in vinegar
Tofu tamagoyaki: half a nori sheet, 100g tofu, turmeric, salt, pepper and oil for frying

Other ingredients for serving
Soy sauce
Wasabi
Toasted sesame seeds
Pickled ginger

Special utensils
Bamboo sushi mat

Method
Step 1. Prepare the rice
Wash the sushi rice in cold water to remove some of the starch.
Soak the sushi rice in cold water for 15-30 minutes. Drain the rice. Add to a pot with 330ml cold water and bring to boil. Once boiling, reduce the heat to low, cover with a lid and simmer for 10 minutes. Turn off the heat and let it sit for 10 minutes with the lid on.
Mix the rice vinegar, salt and sugar to make the Sushi seasoning.
Mix the Sushi seasoning with the Sushi rice and cover the pot with a damp cloth. Leave to cool down a little bit while preparing the fillings and toppings. Don’t take too long as the rice still needs to be warm to handle.

Step 2. Prepare the toppings and fillings
Chop the carrot, cucumber and a avocado into sticks.
Cut the roasted red pepper in small rectangles.
Cut the tofu in small rectangles. Season with salt, pepper and turmeric. Coat in corn flour and shallow fry on both sides until crispy.

Step 3. Assemble the sushi
I will not go into too much detail here, probably best to watch a video on onlie, but here are the basic steps:
1. For Sushi roll 1: lay a nori sheet on the bamboo mat, layer some warm sushi rice, add a small line of Wasabi and layer with 2 carrot stick and 2 cucumber sticks. Roll and cut into slices.
2. For Sushi roll 2: Lay another nori sheet on the bamboo mat, layer some warm sushi rice, add a small line of Wasabi and layer with 2 carrot stick and 2 avocado sticks. Roll and cut into slices.
3. For the roasted red pepper Nigri: cut the nori sheet in 5 strips; wet your hands with water, put about a tablespoon of rice in your palms, squeeze and shape. Place a red pepper rectangle on top. Wrap around with a nori strip.
4. For the tofu Tamagoyaki: cut the nori sheet in 5 strips; wet your hands with water, put about a tablespoon of rice in your palms, squeeze and shape. Place a tofu rectangle on top. Wrap around with a nori strip.

Serve with soy sauce and any of your favourite serving ingredients. Enjoy!

Thanks for the recipe inspiration go to Tim Anderson.

header
Vegan pancakes
breakfast, Desserts, vegan

Vegan Pancakes

Vegan pancakes
Vegan pancakes

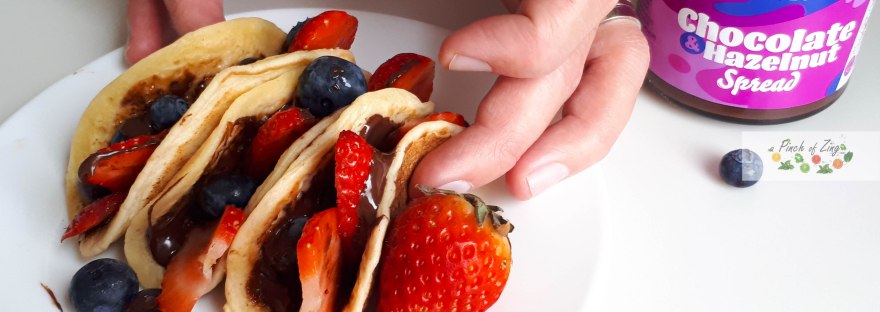
Absolutely delicious pancakes topped with fresh berries and chocolate spread, no one will ever know that they are vegan. Make pancake day more fun by folding them into little pancake tacos.
Have fun with the topping options. In the past I would have gone for Nutella, but now I replace it with Mindful Bites Chocolate & Hazelnut spread, which is vegan and absolutely delicious. Another delicious topping is vegan ice cream with Golden Syrup or Maple Syrup. I hear lemon juice and sugar is a real classic.
Happy Pancake Day!

Ingredients

  • 475ml plant milk (I used soy)
  • 2 teaspoons lemon juice
  • 2 tablespoons sugar
  • 4 tablespoon oil
  • A pinch of salt
  • Vanilla extract
  • 250g plain flour
  • 2 teaspoon baking powder
  • Oil for cooking

Method

  1. In a medium bowl whisk together the plant milk and lemon juice. Leave to sit for 5-10 minutes. This will be the ‘buttermilk’.
  2. Stir in the sugar, oil, salt and vanilla extract. Sift in the flour and baking powder. Mix until incorporated, but avoid over mixing. Allow the batter to sit for 10 minutes.
  3. Heat a pan over a medium heat and carefully wipe it with some oiled kitchen paper. When hot, cook your pancakes for 1 min on each side until golden
  4. Enjoy the pancakes hot or cold, topped with your favourite toppings.

header

Lifestyle, Uncategorized, vegan, vegetarian

My vegan journey – Vegetarian gone vegan (Part 2)

Being vegan is a journey, not a destination.

I believe my vegan journey started long before I even realised; it started by going vegetarian. This blog post is a continuation of My vegan journey – Going vegetarian (part 1), so check that out for more context.

I started my conscious transition from vegetarian to vegan some time in 2019. There were three main factors that contributed to this shift:

1. I met some vegan people
It was not just a myth, these people live amongst us 🙂
Vegan people were just like you and me, they didn’t have ‘vegan’ written all over them and didn’t make it their mission to preach about it. This opened my eyes to the idea of veganism, which I hadn’t considered before. I started considering what goes in the cakes I made for bake offs at work and tested a few vegan recipes, to be more inclusive. I started reflecting on my own eating habits and realised that some of the food I would usually eat was vegan already.

2. I realised how traumatic animal farming really is for the animals
As a vegetarian I was pretty happy with myself, thinking I am not causing animals any suffering by simply not eating them. After all no cow died from being milked for me to enjoy cheese and milk chocolate; or so I thought. I had never considered that a cow needs to be constantly impregnated to give milk; that her baby is taken away from her so that I can have that milk and how traumatic it is for a mother and baby to be separated; also if the baby cow happens to be a male, it will most likely be shot because it has no value. The harsh reality is that farm animals are exploited like assets and are not treated like the sentient beings that they are. I am not going to go in more detail, because I personally find the graphical details very upsetting, but the Viva! Charity is a good source of information.

3. Vegan food is more accessible than ever

Being vegan takes considerably less effort than it ever did. It is amazing how every food you can think of has a vegan version. You can still enjoy your favourite take away or comfort food, but it comes with the added bonus of being cruelty free. Pretty much every restaurant has vegan options and there’s also the exclusively vegan eateries (dreamy!).

My concerns
Now that I had all this knowledge about the impact of my food choices, I had all these vegan options readily available and have met actual people who were vegan, I felt compelled to at least give it a go. What was the worst that could happen?
> Is a vegan diet and lifestyle sustainable in a world that is not vegan?
I was concerned that a vegan diet may not be sustainable long term. Can I go without ever having cheese or cake again?
> How will my family and friends deal with it?
I still need to function in a non vegan society, where being vegan is not that popular (to put it mildly).

My approach
I wasn’t sure that I can do this or what to expect, but I had to at least give it a go. I told myself it is not all or nothing; reducing the amount of dairy and egg I consume was still going to make a difference.
I started slowly, by replacing the milk in tea and coffee with plant based options; I reduced my egg intake and started to explore more vegan foods like jackfruit, banana blossom and even gave tofu a chance. I had to relearn how to bake cakes without dairy and egg and how to cook dishes with new ingredients. I also made sure to chose the vegan options when eating out, if such options were available. But it wasn’t all plain sailing, I was still finding it it hard to resist my usual chocolate bar treats and snacks.

Committing to a vegan lifestyle
After about 8 months of conscious effort of trying a vegan diet, I was almost there, but I would still be tempted by the odd non-vegan snack. I made the shift in January 2020 by signing up to Veganuary and never looked back. Turns out I can do it! Who knew it? I certainly didn’t. There is more to a vegan lifestyle than a vegan diet and I am still working on all the other aspects. Being vegan is a journey, not a destination.
 “Veganism is a philosophy and way of living which seeks to exclude—as far as is possible and practicable—all forms of exploitation of, and cruelty to, animals for food, clothing or any other purpose; and by extension, promotes the development and use of animal-free alternatives for the benefit of animals, humans and the environment. In dietary terms it denotes the practice of dispensing with all products derived wholly or partly from animals.” Vegan Society definition of veganism.

Lessons learnt
I will end this self-reflection with the main lessons learnt during my vegan journey so far:
> Rethink and relearn
Do you think you need protein from meat and calcium from milk? Think again.
Be ready to learn to cook nutritious and delicious cruelty free food. You will find plenty of inspiration and tips on my blog.
> It’s not all or nothing. 
Start thinking about the food choices you make and try vegan/vegetarian dishes or products. Allow yourself to be curious. If you can’t live without cheese – that’s fine, you can still make a difference by ditching everything else that’s not vegan.
> It’s not about perfection
Being vegan in a non-vegan world comes with its challenges, but that doesn’t mean you have to give up this ideal. Sure, you may end up eating something that has milk powder in it without realising, or you will be shocked to find out that most fabric conditioner contains animal fat in it, or you may have a really bad day and give in to a [insert not-vegan craving]; but that’s not the point. What truly matters is that every day you start again and try to be the best vegan you can be, as far as is possible and practicable.

Banoffee pie (Vegan)
Desserts, vegan, vegetarian

Banoffee Pie (Vegan)

Banoffee pie (Vegan)

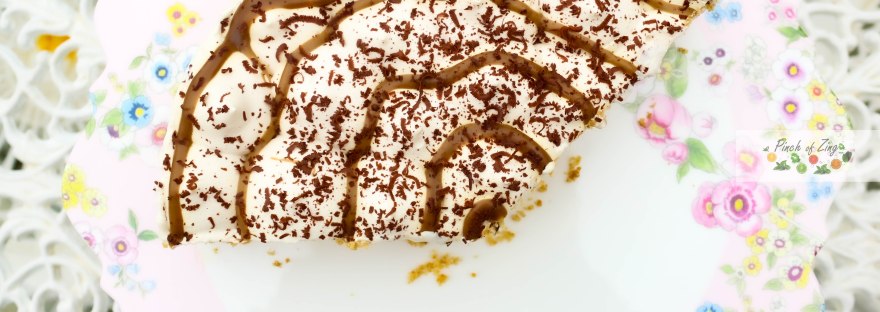
The perfect ‘no bake’ summer dessert. Crunchy biscuit base, sweet caramel, banana and cream. Yum!

Having experimented making different versions of vegan banoffee pie, this is my favourite iteration.
The biscuit base in pretty standard; the McVities digestive biscuits are accidentally vegan.
I was surprised how much I like the date caramel. It’s delicious, easy to make and good for you. If you haven’t tried it, I highly recommend it.
The Elmlea plant double cream makes an excellent whipped cream. Top it all up with dark chocolate shavings and you have a winning dessert.
Tag @apinchofzing on Instagram if you make this dessert or leave a comment below to let me know what you think 😊

Ingredients

Biscuit base
400g Digestive biscuits
50g melted vegan spread

Date caramel
8-10 Medjool dates
1 teaspoon vanilla extract
a pinch of salt

2-3 ripe bananas (sliced)

Whipped cream
270ml Elmlea plant double cream
3 tablespoons sugar
1 teaspoon vanilla extract

50g dark chocolate for decorating

Method
1. Use a food processor to pulse the biscuits to a breadcrumb consistency. Pour in the melted vegan spread and combine well. Press the biscuit mixture into the base of a 9 inch cake tin/dish and refrigerate.
2. To make the date caramel, start by soaking the dates in boiling water for 10 minutes. Remove the dates from the water and save the liquid. Add the dates, vanilla extract and a pinch of salt to a blender and whizz until smooth. If the caramel is too thick, you can add some of the liquid the dates were soaked in, to thin it out.  
3. To make the whipped cream, add the double cream, sugar and vanilla extract to a bowl and whisk until thick.
4. Time to assemble the pie. Spread the date caramel over the biscuit base. Place the banana slices on top of the caramel. Pipe the whipped cream on top of the banana layer and grate the dark chocolate over the cream.
5. Place the pie in the fridge and leave to set overnight before serving. Enjoy!

header

Butter tofu curry (Vegan)
dinner, gluten free, lunch, Savoury dishes, vegan

Butter tofu curry (Vegan)

Makes 4-6 servings

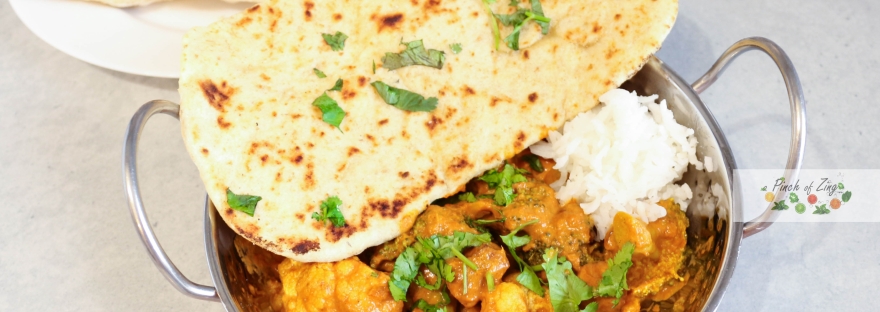
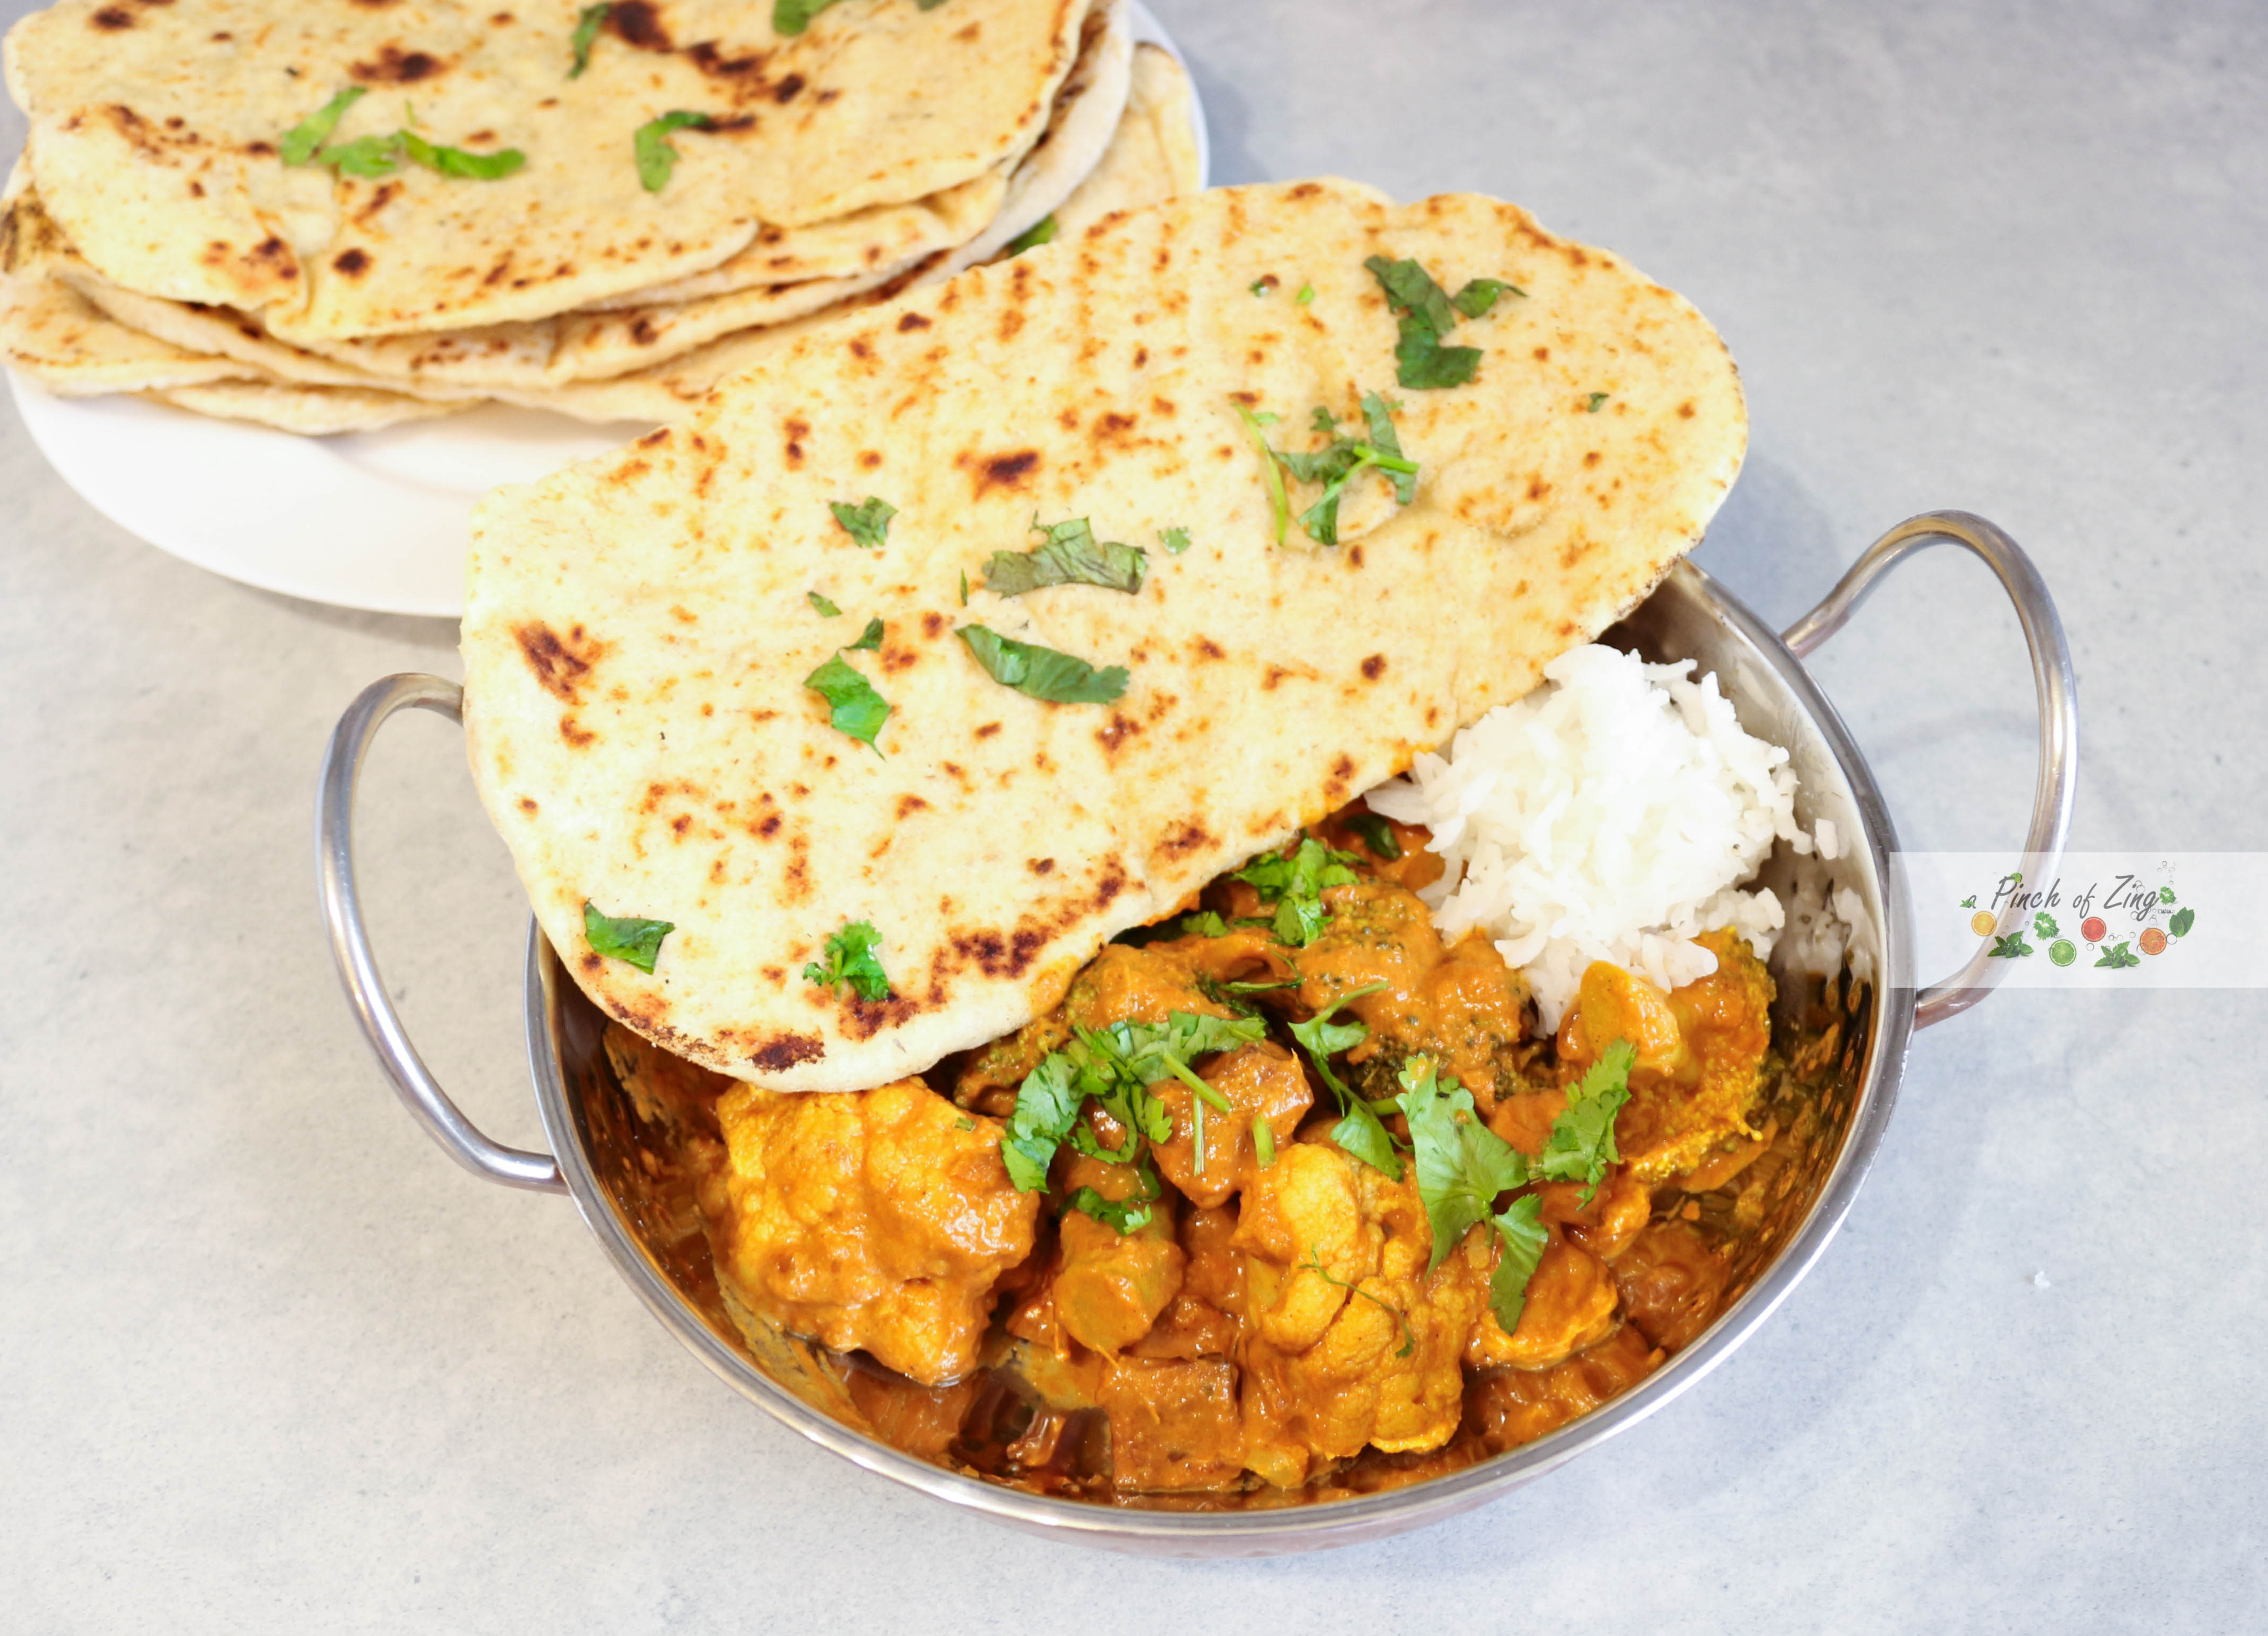
Such a lovely well-balanced curry: fragrant, creamy and not too spicy.
This is one of my favourite Indian curries; I make it all the time, so it’s time it made an appearance on my blog.
This curry is easy to make and packed with veggies. Once you taste this curry you will never use shop bought curry paste again. Great served with rice and naan bread.
If I am entertaining and want to go all out, I will make my own rice and naan bread to go with it, maybe even some Baked onion bhajis.  However, if I am short for time, microwave rice and shop bought naan bread will do the trick.
Let me know if you give it a go by tagging @apinchofzing on Instagram. I hope you enjoy curry night!

Ingredients

Tofu
280g extra firm tofu
1 tsp liquid smoke
3 tbsp soy sauce
½ tsp Cayenne pepper
½ tsp smoked paprika
½ tsp garlic granules

Veggies
1 small broccoli
1 small cauliflower
1 bunch of fresh coriander (chopped)

Butter curry sauce
2 tbsp dairy free butter
1 onion (finely chopped)
1 tbsp tomato puree
2 tsp garam masala
2 tsp ground coriander
2 tsp ground cumin
2 tsp ground turmeric
3 garlic cloves
a thumb size piece of fresh ginger
1 chilli (chopped)
400ml tomato passata
200ml Oatly crème fraiche or Greek yogurt

Method
Step 1. Prepare the tofu.
Press the tofu for at least 30 minutes to drain the excess water or use Tofoo tofu, which is ready to use and doesn’t need pressing. Preheat the oven to 200C. Line a baking tray with parchment. Chop the tofu in bite size cubes and place in a bowl. Add the liquid smoke, soy sauce, spices and mix. Place the tofu cubes in the baking tray and bake for 20 minutes or until golden. 

Step 2. Prep the veggies
Break the cauliflower and broccoli into florets. Add to a pan of boiling water and cook to your liking. You can also steam or roast the veggies if you prefer.

Step 3. Make the butter curry sauce
1. Place a large deep frying pan over medium heat with the butter. When the butter is melted, add the chopped onion and cook until starting to soften (about 5 minutes), stirring occasionally.
2. Add the garlic, ginger and chilli to a food processor with a bit of water and whizz until it turns into a smooth curry paste.
3. Go back to the frying pan and mix in the tomato puree. Add the spices and cook until fragrant (about 2 minutes). Add in the curry paste and cook for 3-5 minutes.  Pour in the passata, bring to a simmer, cover with a lid and cook for 20-30 minutes, but remember to stir occasionally.
4. Stir in the Oatly crème fraiche until combined and remove from heat.
5. Stir in the cooked tofu, broccoli and cauliflower. Garnish with fresh chopped coriander and enjoy with rice and naan bread.

Thanks for the recipe inspiration go to BOSH!

Butter tofu curry (Vegan)
header
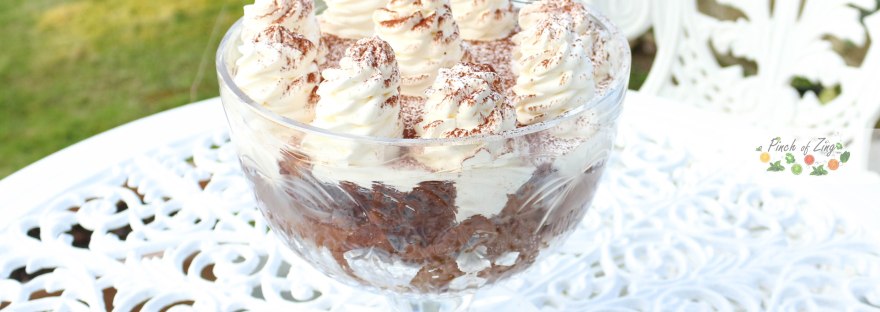
Espresso martini trifle (vegan)
Desserts, vegan

Espresso martini trifle (Vegan)

Makes 6-8 servings

Espresso martini trifle (vegan)

If you like the espresso martini cocktail you will love this dessert!
I’ve been thinking of transforming one of my favourite cocktails into a dessert for a while; so I finally made this trifle for my actual birthday this year.  This espresso martini trifle turned out better than I imagined and I thought the world needs this!  
Definitely a dessert for grown ups with rich chocolate, coffee, booze and some whipped cream to balance it all.
Unlike my gin, lemon and raspberry trifle (which is to die for!), this one is fairly simple and easy to make. Also, this is an excellent dessert to make in advance, so you can enjoy your big day without spending time in the kitchen.

For what special occasion would you make this dessert? Remember to tag @apinchofzing on Instagram if you give it a try. 

Trifle elements
1 x chocolate sponge layer
1 x Espresso martini cocktail (or two if you fancy a glass)
1 x chocolate ganache layer
1 x whipped cream layer
Cocoa powder for dusting


Step 1. Make the chocolate sponge

Ingredients
1 teaspoon vegan spread and 1 teaspoon flour to coat the cake tin
3/4 cup soy milk
1 teaspoon cider vinegar or lemon juice
1 & 1/3 cups plain flour
1 tablespoon cocoa powder
1 teaspoons baking powder
¼ teaspoon baking soda
1/3 cup sugar
a pinch of salt
1/4 cup rapeseed oil
1 teaspoon vanilla extract

Method
1. Preheat the oven to 190C. Grease with vegan spread and coat in flour, a 20cm round cake tin.
2. In a medium bowl mix the dry ingredients (flour, cocoa powder, baking powder, baking soda, sugar, salt).
3. Add in the wet ingredients (curdled milk, oil and vanilla) and mix together until combined. Don’t overmix.
4. Pour the batter in the cake tin and bake for 20 minutes. Remove from the oven and leave to sit in the cake tin for 5 minutes. After 5 minutes, remove from the cake tin and leave to cool on a wire rack.

Step 2. Make the espresso martini cocktail(s)

Ingredients
100ml vodka
50ml espresso coffee
50ml coffee liqueur

Method
Mix all the ingredients in a glass or bowl.

Step 3. Make the chocolate ganache

Ingredients
200g dark chocolate
200ml coconut milk (from a can)
1 teaspoon instant coffee

Method
1.Use a microwave safe medium size bowl. Break the chocolate into chunks and add it to the bowl with the coconut milk and instant coffee. Heat in the microwave for 30 second intervals and mix with a spoon after every 30 seconds, until melted and combined. It took me about 3-4 30 second intervals. Do not over heat the mixture as the chocolate could burn and that will ruin the ganache.
2. Leave the resulting chocolate ganache to cool down completely and set. You could also place it in the fridge to speed up the process.
3. Use a hand/stand mixer to whip the chocolate ganache until it becomes fluffy and light (2-3 minutes). Store at room temperature, or else it will become too hard to work with it.

Step 4. Make the whipped cream

Ingredients
270ml Elmlea plant double cream
3 tablespoons sugar
1 teaspoon vanilla extract

Method
Add all the ingredients in a large bowl and whisk with an electric mixer on high speed until the cream thickens and forms stiff peaks. Cover and store in the fridge until ready to use.

Step 5. Layer the trifle

You are now ready to assemble the trifle.

1. Cut the chocolate sponge in small squares and layer like a puzzle on the bottom and sides of the trifle dish.
2. Pour the espresso martini cocktail over the sponge.  
3. Put the chocolate ganache in a piping bag and pipe the ganache over the chocolate sponge.  
4. Put the whipped cream in a piping bag and pipe over the chocolate ganache layer.  
5. Cover and leave in the fridge overnight to set.
6. Dust with cocoa powder before serving. Enjoy 😊

Espresso martini trifle (vegan)

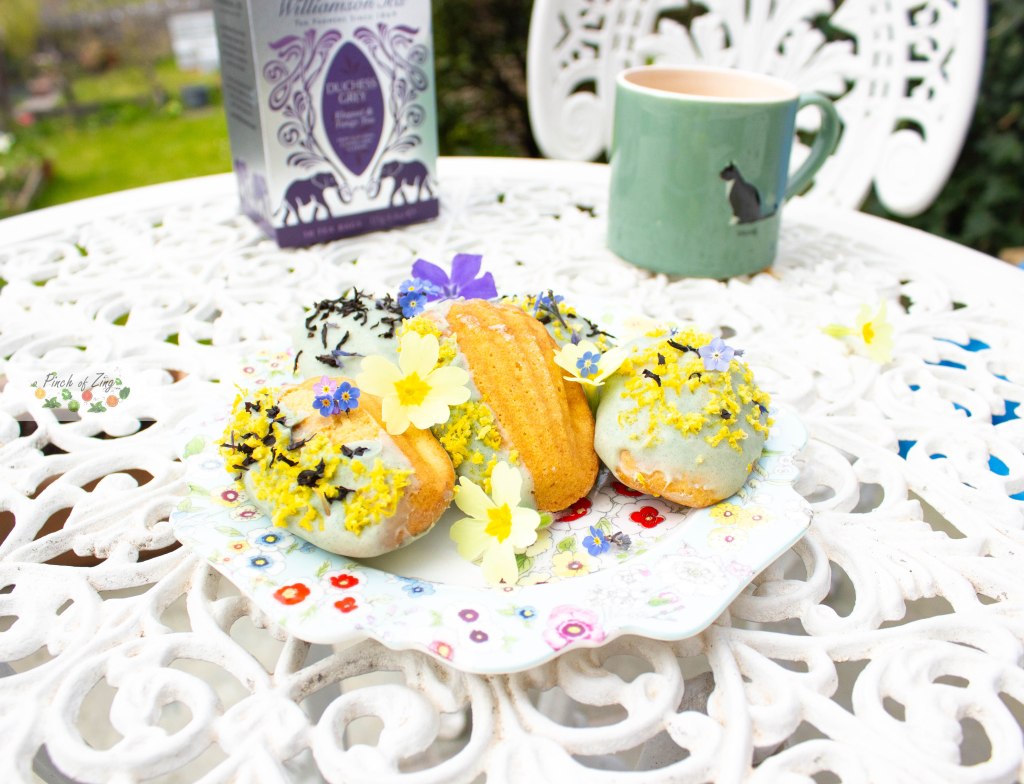
Lemon and Early Grey Madeleines (Vegan)
Desserts, vegan

Lemon and Earl Grey Madeleines (Vegan)

Makes 12 madeleines

Lemon and Early Grey Madeleines (Vegan)
Lemon and Earl Grey Madeleines (Vegan)

Delicate lemon madeleines, dipped in white chocolate and sprinkled with earl grey tea.
I’ve been dreaming of these little gems for a while and I am so pleased how they turned out. So much that I had to share the recipe 🙂
I added a pinch of spirulina powder in the white chocolate to give it a green tinge and to cut through the sweetness.    

I hope you enjoy this sophisticated dessert. Remember to tag @apinchofzing on Instagram if you give it a try. 

Ingredients
125ml soy milk
1 tsp lemon juice
45ml rapeseed oil
1/2 tsp lemon extract
1/2 tsp vanilla extract
140g flour
1tsp baking powder
75g sugar
zest from one lemon
a pinch of salt

Toppings
100g vegan white chocolate
¼tsp spirulina powder (optional)
loose earl grey tea
lemon zest

Method

  1. Preheat the oven to 175 C. Lightly grease and coat with flour, a madeleine pan.  
  2. In a jug, mix the soy milk and lemon juice. Leave to curdle and move to the next step.
  3. In a large bowl, mix the dry ingredients (flour, baking powder, sugar, salt and half of the lemon zest).
  4. Add in the wet ingredients (curdled milk, oil, vanilla and lemon extract) and mix until combined. Do not overmix.
  5. Use a piping bag to split the mixture between the madeleines.
  6. Bake for 12-15 minutes until golden brown. Remove the madeleines from the mould and leave them to cool down completely before moving to the next step.
  7. Break the white chocolate and add it to a small microwave safe bowl. Heat the chocolate in the microwave for 15 seconds intervals, mixing each time, until fully melted. Mix in the spirulina powder if using.
  8. Dip the madeleines in the melted chocolate and sprinkle loose early grey tea and lemon zest. Enjoy with a nice cup of tea.
  9. Thanks for the recipe inspiration go to Bianca Zapatka  
header
Strawberries and cream cupcakes (Vegan)
Desserts, vegan

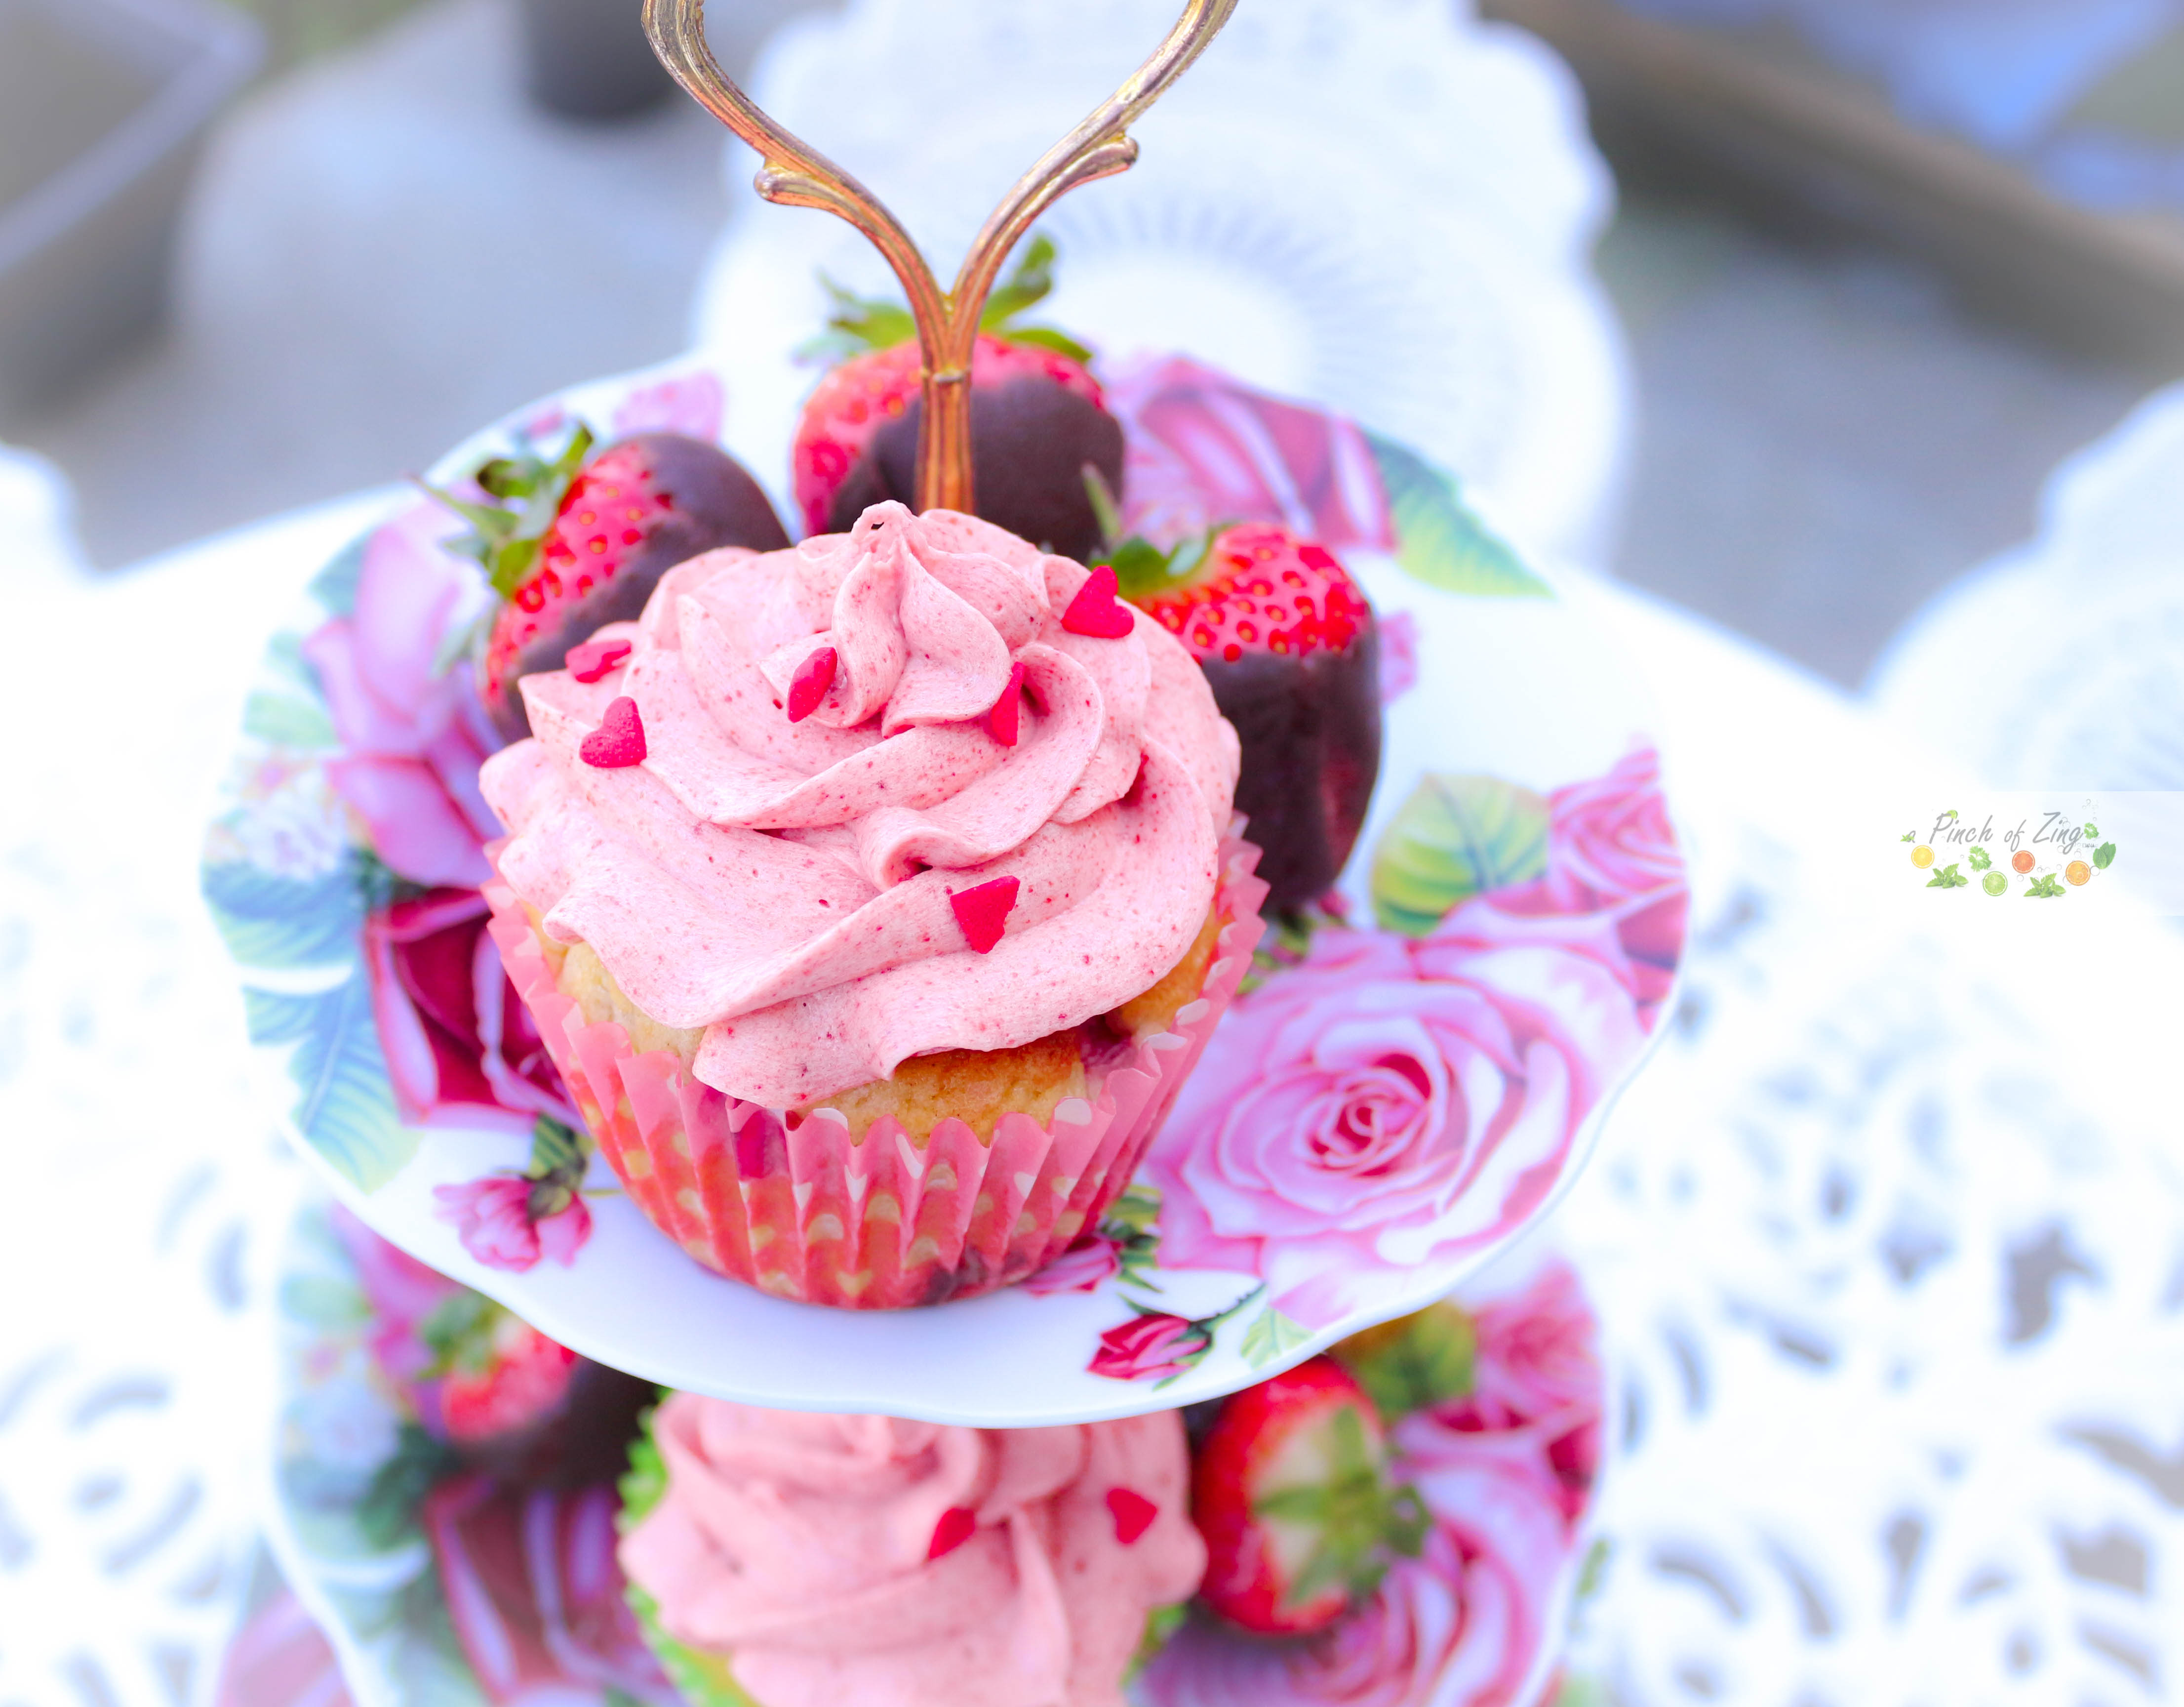
Strawberries and cream cupcakes (Vegan)

Makes 12 cupcakes

Strawberries and cream cupcakes (Vegan)

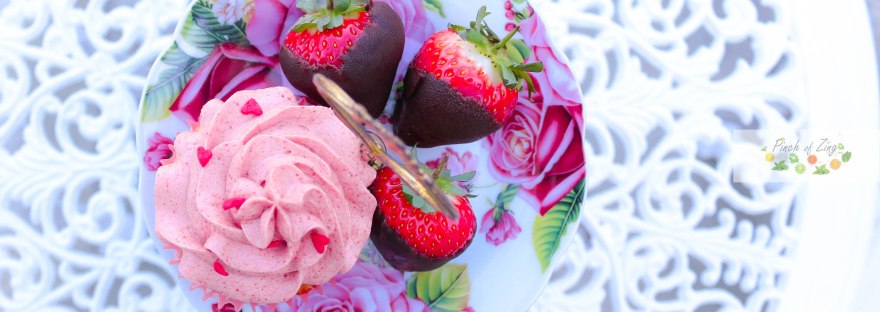
Pretty in pink!
These cupcakes are just delightful; a joy to make and almost too pretty to eat!
Don’t worry, I somehow managed to eat them 😀

The inspiration for these cupcakes was my birthday. Who says it has to be birthday cake? It’s my birthday and I’ll have cupcakes if I want to 😊
I was also pretty sure strawberries and cream would be a hit with my friends (of course they were!). The secret for packing in loads of flavour and for the pink colour is using freeze dried strawberries powder in the no-butter cream. A game changer.  

So if you are planning a garden party, a tea party or just want a sweet treat, give them a go.
Remember to tag @apinchofzing on Instagram if you make these beauties.  

Cupcake ingredients
1 cup soy milk
1 teaspoon cider vinegar or lemon juice
2 cups plain flour
2 teaspoons baking powder
¼ teaspoon baking soda
½ cup sugar
a pinch of salt
1 cup chopped strawberries
¼ cup + 2 tablespoons rapeseed oil
1 teaspoon vanilla extract

No-butter cream ingredients
100g vegan spread
150g icing sugar (sifted)
2 teaspoons freeze dried strawberries powder (sifted)
1 teaspoon vanilla extract

Method
1. Preheat the oven to 190C. Line a cupcake baking tray with cupcake cases.
2. Heat up the soy milk for 30 seconds in the microwave and add the cider vinegar. Leave to curdle and move to the next step.
3. In a large bowl mix the dry ingredients (flour, baking powder, baking soda, sugar, salt). Mix in the chopped strawberries.
4. Add in the wet ingredients (curdled milk, oil and vanilla extract) and gently mix together, trying not to break the fruit. Don’t overmix.
5. Place a large tablespoon of the mixture to each cupcake case and split any excess left between them.
6. Bake for 20 minutes. Leave the cupcakes to cool down completely before decorating with no-butter cream.  
7. To make the no-butter cream, use a stand mixer to cream the vegan spread with sifted icing sugar, sifted freeze dried strawberries powder and vanilla extract. Mix until pale and fluffy (about 5 minutes on high speed). Add more freeze dried strawberry powder if you like.
8. Pipe the strawberry cream on top of the cupcakes and enjoy.

header
Gin, lemon and raspberry trifle (Vegan)
Desserts, vegan

Gin, lemon and raspberry trifle (Vegan)

Makes 6-8 servings

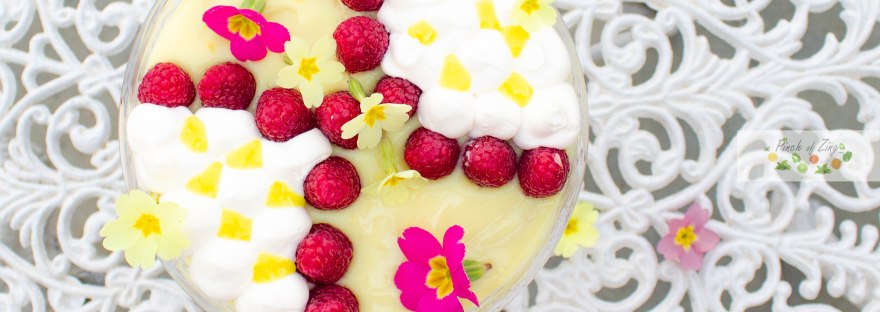
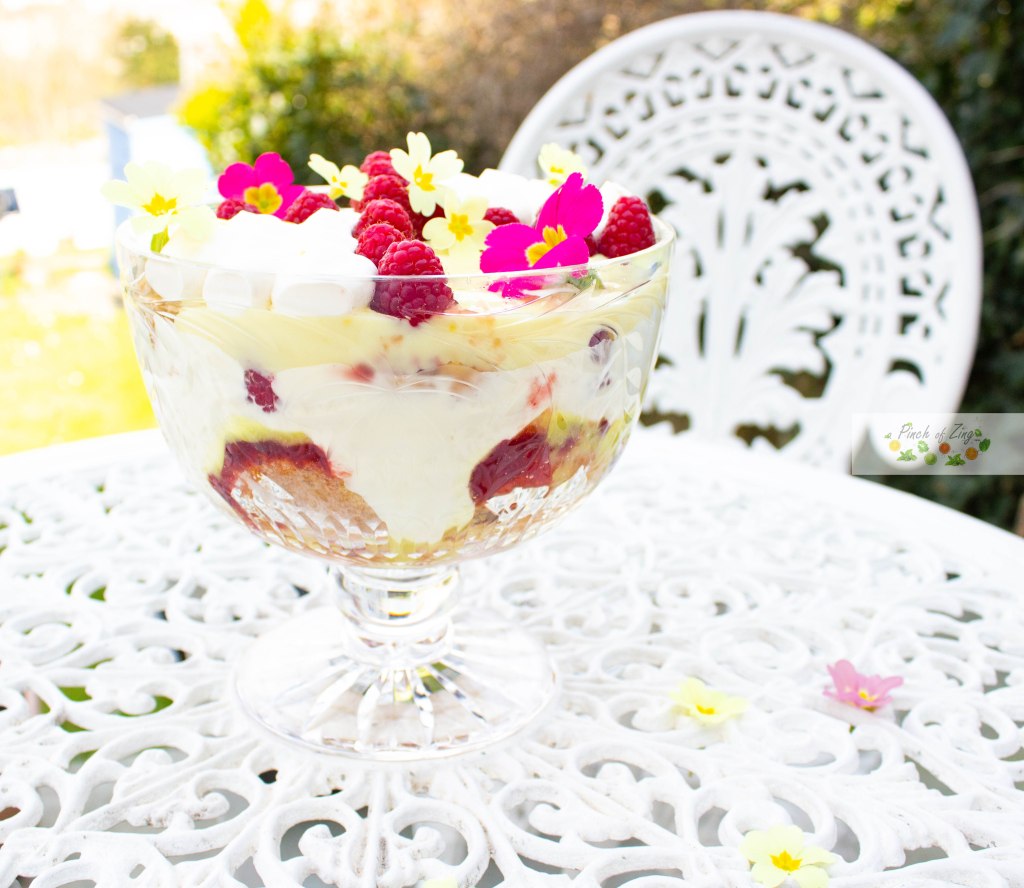
Gin, lemon and raspberry trifle (Vegan)

The inspiration for this recipe comes from my mother-in-law, who makes the BEST trifle every year for Christmas. My version is a summer trifle; full of raspberries, zesty lemon and gin! Making a trifle takes a bit of time and planning, but it’s so worth it for a special occasion.

I can’t compete with my mother-in-law’s trifle, but I have learnt that planning is key for a good trifle. Therefore, I am including a timeline to help you achieve this wonderful dessert without any stress.  
I start making the trifle two days in advance of the big day. This way I spread the workload, give the trifle time to set and spend more time with my guests on the day.

The ingredients below will be enough to make a big trifle. My trifle bowl is a medium size (18cm wide and 12cm deep), so I always have left over ingredients. I end up mixing any left over ingredients in another small bowl to make a mini trifle 😊

I hope you enjoy this dessert. Remember to tag @apinchofzing on Instagram if you give it a try. 

Trifle elements
2 x sponge layers (I made raspberry and lemon muffins)
150ml gin liqueur (I used grapefruit and elderflower gin liqueur)
1 portion of home made lemon curd
about half a jar (160g) of raspberry jam
2 x custard layers (I used 525ml Alpro custard)
Whipped cream (made with 270ml of Elmlea plant double cream)
Fresh raspberries (about 225g)

Planning

Day 1
Start by making the muffins to use for the sponge layer; this gives them plenty of time to cool down. Also make the lemon curd on day 1, as this needs time to cool down and set.
Day 2
This is when you can finish making the trifle, to give it enough time to set in the fridge overnight, in preparation for the big day.
All you have left to do before assembling the trifle is to make the whipped cream and mix the elements to make the two custard layers. Worry not, I use shop bought Alpro custard at this stage.
Day 3
Today is the big day. Time to enjoy this wonderful trifle 😊

Step 1. Make the raspberry and lemon muffins (makes 12 muffins)

Ingredients
1 cup soy milk
1 teaspoon cider vinegar or lemon juice
2 cups plain flour
2 teaspoons baking powder
¼ teaspoon baking soda
½ cup sugar
a pinch of salt
zest from one lemon
1 cup raspberries
¼ cup + 2 tablespoons rapeseed oil
½ teaspoon vanilla extract
½ teaspoon lemon extract

Method
1Preheat the oven to 190C. Line a muffin baking tray with muffin cases.
2. Heat up the milk for 30 seconds in the microwave and add the cider vinegar. Leave to curdle and move to the next step.
3. In a large bowl mix the dry ingredients (flour, baking powder, baking soda, sugar, salt, lemon zest). Mix in the raspberries.
4. Add in the wet ingredients (curdled milk, oil, vanilla and lemon extract) and gently mix together, trying not to break the fruit.
5. Place a large tablespoon of the mixture to each muffin case and split any excess left between them.
6. Bake for 20 minutes and leave to cool down. The muffins stay fresh for a few days in an air tight container.

Step 2. Make the lemon curd

Ingredients
½ cup sugar
1 tablespoon corn flour
1/2 cup soy milk
¼ cup lemon juice (about 2 lemons)
zest from one lemon
a pinch of turmeric for colour

Method
Use a small pot. Mix the sugar and corn flour; this will prevent any flour lumps from forming when cooking the curd. Add the rest of the ingredients and cook on low heat, while constantly whisking, until the curd thickens. Should take about 5 minutes for the curd to thicken. The curd will thicken more as it cools down. Store in a jar with a lid on.

Step 3. Make the whipped cream

Ingredients
270ml Elmlea plant double cream
3 tablespoons sugar
1 teaspoon vanilla extract

Method

1. Add all the ingredients in a large bowl and whisk with an electric mixer on high speed until the cream thickens and forms stiff peaks. Cover and store in the fridge until ready to use.

Step 4. Make the custard layers

Ingredients
Alpro custard (525ml)
half of the lemon curd made in Step 2
3 tablespoons whipped cream made at Step 3

Method
Custard layer 1: Pour the Alpro custard in a medium size bowl and mix it with half of the lemon curd made at Step 2. Mix until combined.
Custard layer 2: Pour half of the Custard layer 1 in another medium size bowl and mix with 3 tablespoons of the whipped cream made at Step 3. Mix until combined. This will end up looking like a light mousse.

Step 5. Layer the trifle
You are now ready to assemble the trifle 😊
1. Cut the muffins in half horizontally. Layer enough muffin pieces to cover the bottom of your trifle bowl. Soak each muffin piece with about a tablespoon of gin liqueur.
2. Spread a thin layer of lemon curd and one of raspberry jam.
3. Spoon over a layer of the Custard number 2 and top with a handful of fresh raspberries.
4. Add another layer of muffin pieces soaked in gin liqueur.
5. Spread another thin layer of lemon curd and one of raspberry jam.
6. Spoon over a layer of the Custard number 1.
7. Pipe whipped cream on top and decorate with more fresh raspberries.
8. Cover and leave in the fridge overnight to set.
Enjoy the next day!

Gin, lemon and raspberry trifle (Vegan)

Cherry Clafoutis (Vegan)
Desserts, vegan, vegetarian

Cherry Clafoutis (Vegan)

Makes 10 servings

Cherry Clafoutis (Vegan)

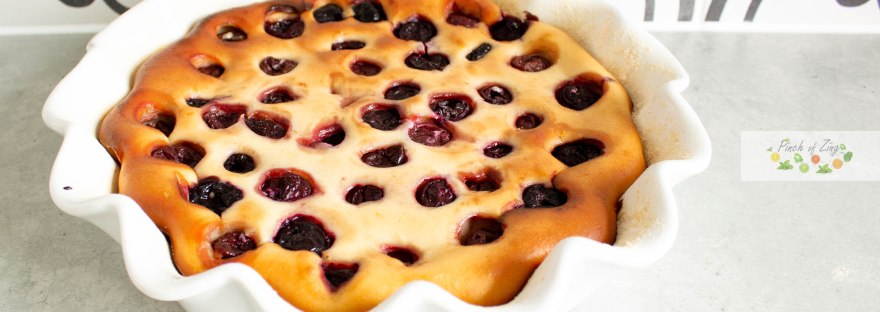
Clafoutis is a sophisticated French dessert, with a thick flan-like batter and black cherries.
My husband introduced me to this dessert by making it for me recently and I was hooked.
It is really too good to keep it all to myself, so if I can’t make it for you, I can at least share the recipe so you don’t miss out.
This must be my favourite way to eat tofu nowadays 😊
Black cherries are not easy to come by in UK, but Sainsbury’s do frozen black cherries, so we defrosted them before use. Need be, you can make this dessert with other summer fruit.

I hope you like this dessert as much I do. Remember to tag @apinchofzing on Instagram if you give it a try.

Ingredients

350g silken tofu
180ml soy milk
120g sugar
1 small lemon (zest and juice)
25g vegan butter (melted)
2tsp vanilla extract
1tsp almond extract
120g plain flour
80g ground almonds
20g corn starch
1 tsp baking powder
a pinch of salt

extra flour and vegan butter to coat the pie dish
200g pitted black cherries
1 tablespoon icing sugar for decorating

Method

  1. Preheat the oven to 170 C. Prepare a 22cm tart dish by coating it with vegetable butter and flour.
  2. In a food processor, blend the tofu and soy milk together until smooth.
  3. Add in the sugar, zest and juice of a lemon, melted butter, vanilla and almond extract, and blend again until combined.
  4. Next add in the flour, ground almonds, corn starch, baking powder and salt. Blend again until fully combined.
  5. Pour the batter in the pie dish and add the cherries on top.
  6. Bake for 40 minutes. Enjoy warm or cold, but remember to sprinkle some icing sugar on top just before serving.

Thanks for the recipe inspiration go to Project Vegan Baking.

2-2

header