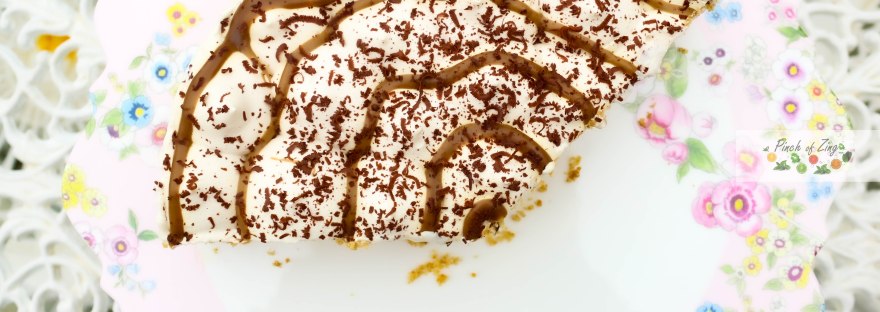
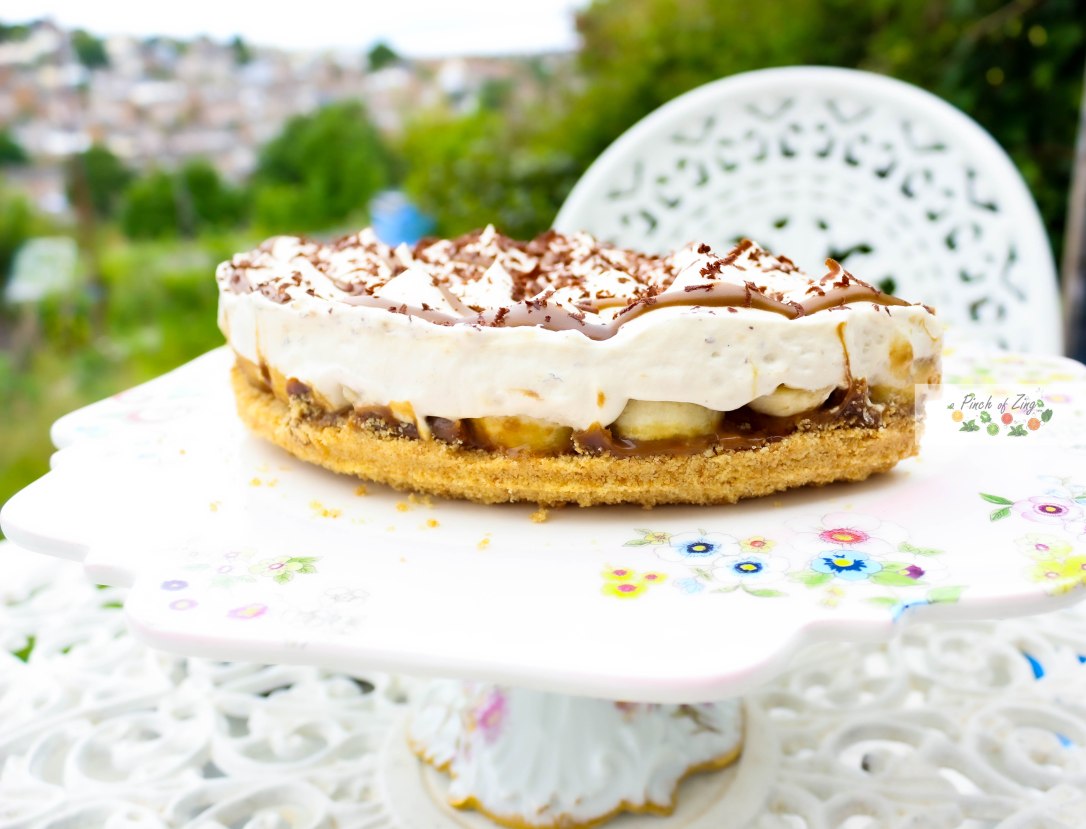
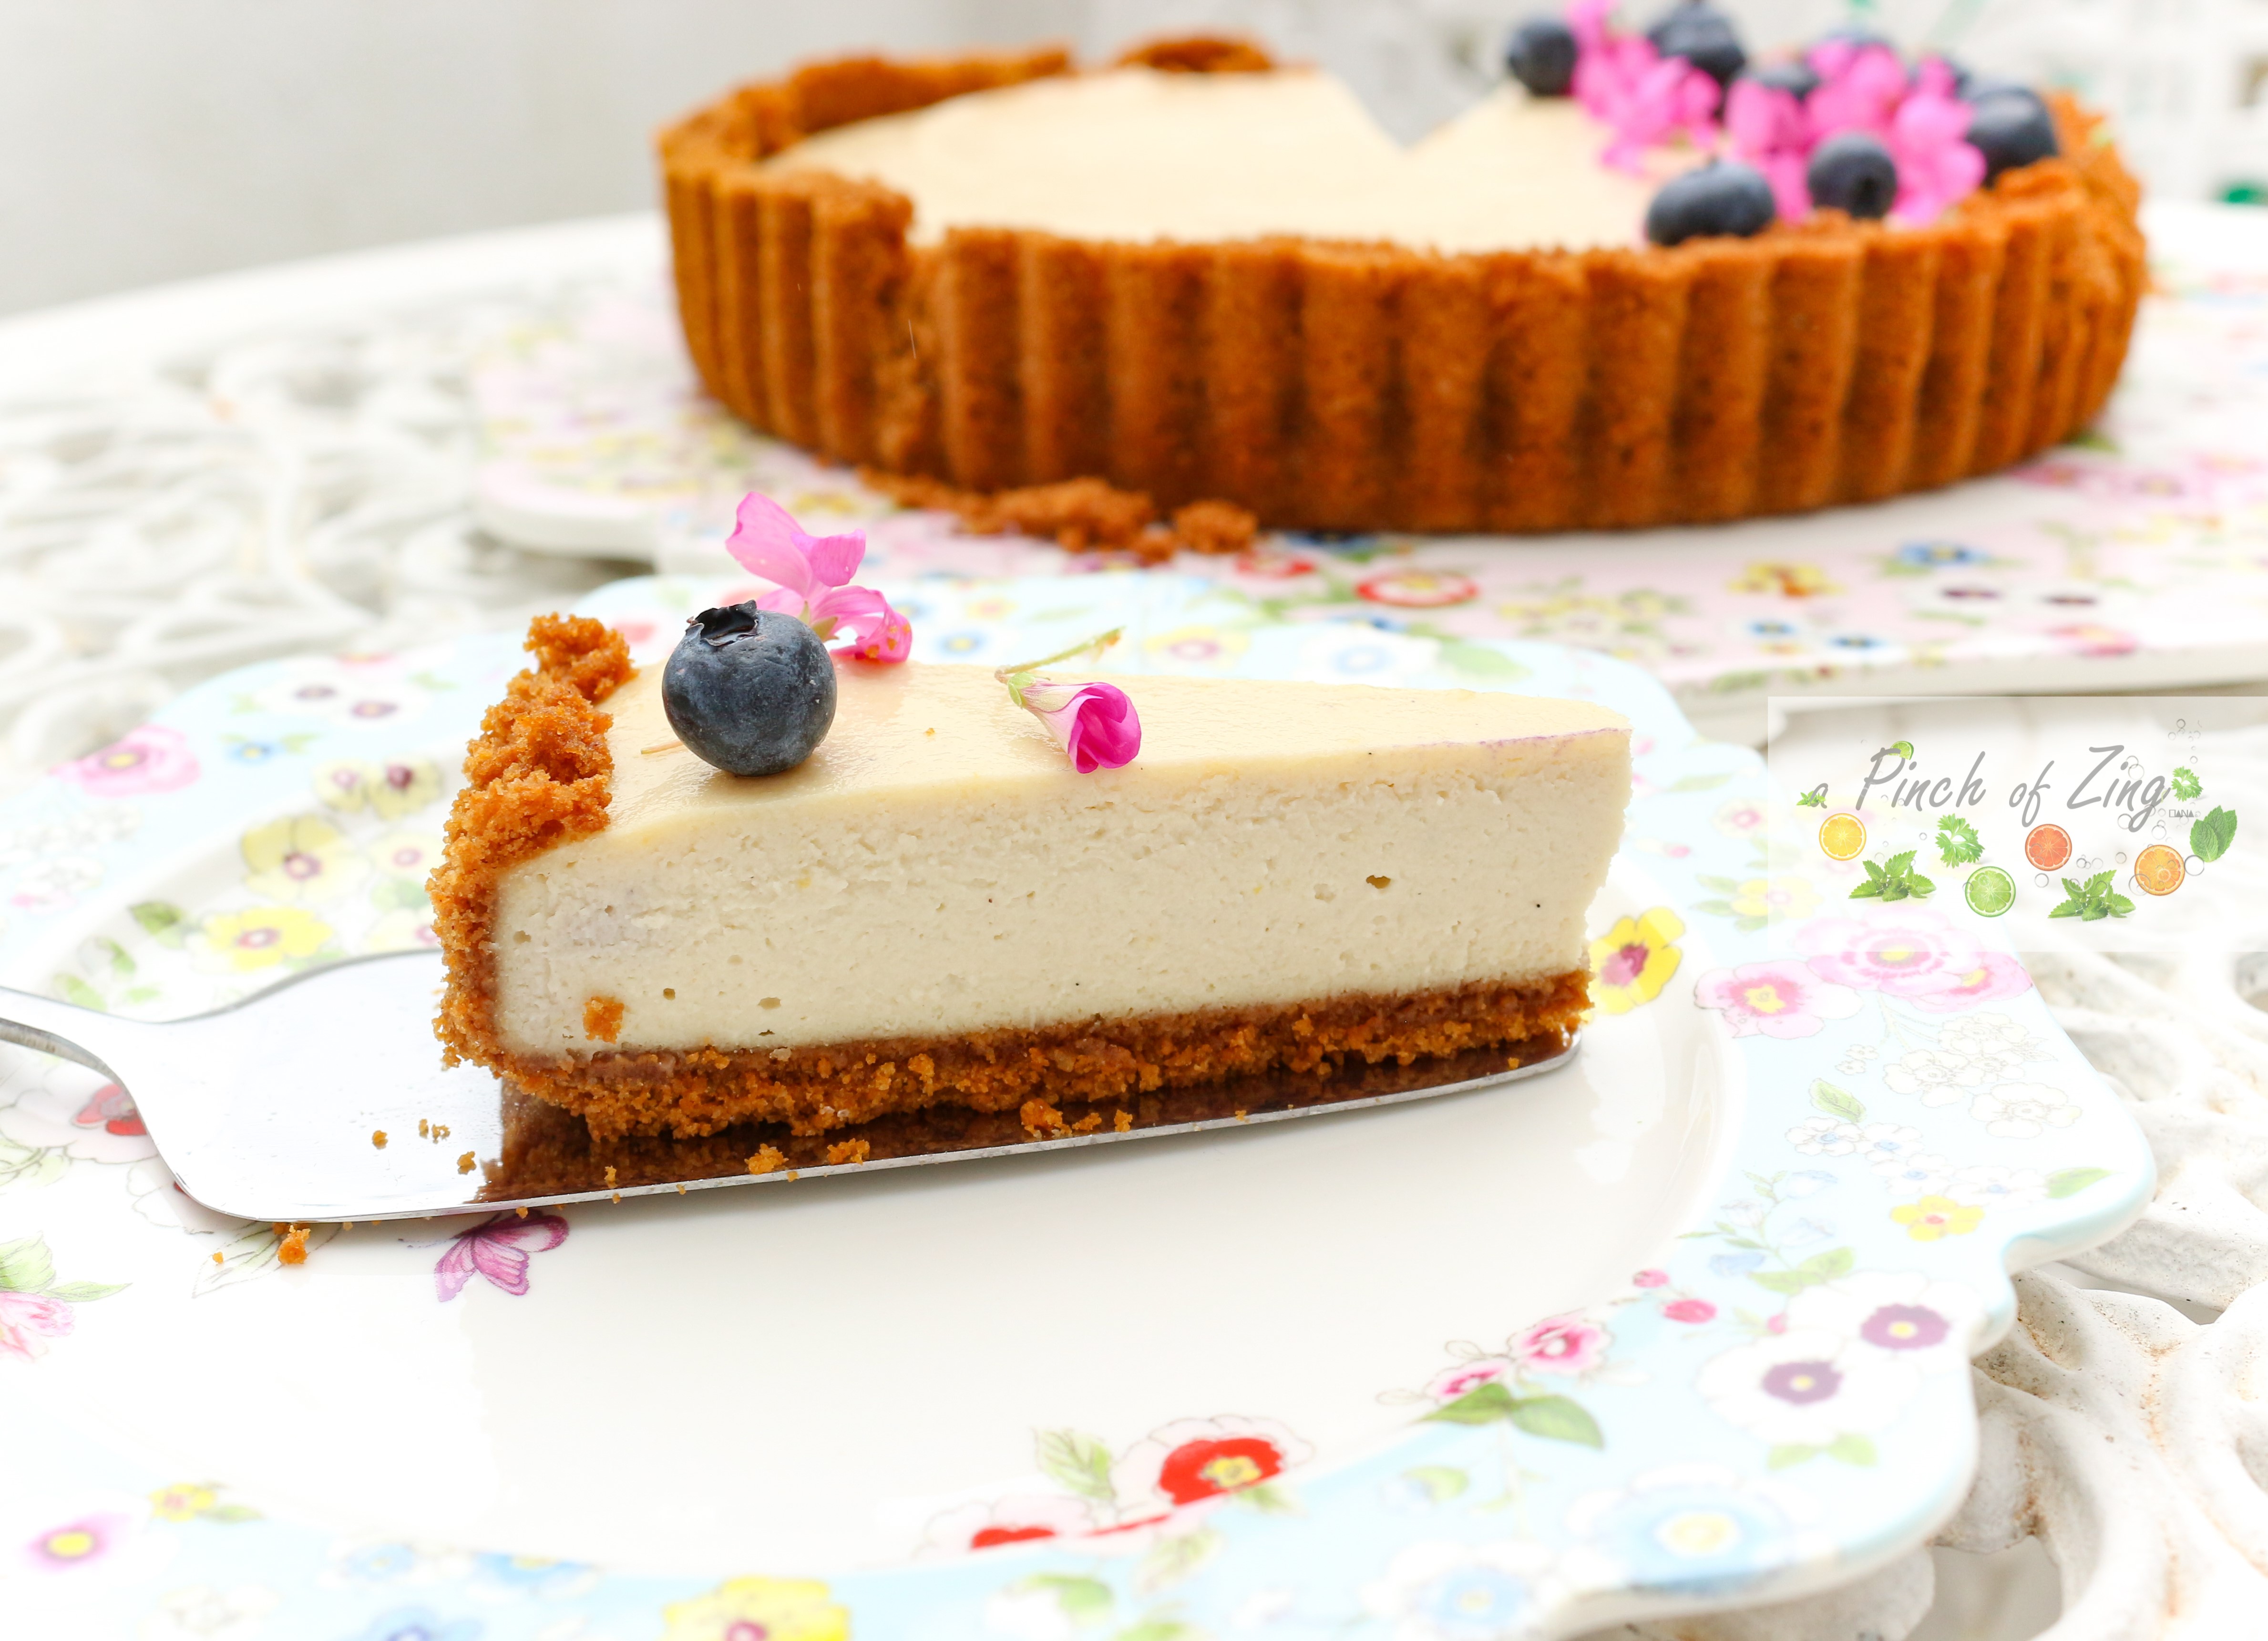
The perfect ‘no bake’ summer dessert. Crunchy biscuit base, sweet caramel, banana and cream. Yum!
Having experimented making different versions of vegan banoffee pie, this is my favourite iteration.
The biscuit base in pretty standard; the McVities digestive biscuits are accidentally vegan.
I was surprised how much I like the date caramel. It’s delicious, easy to make and good for you. If you haven’t tried it, I highly recommend it.
The Elmlea plant double cream makes an excellent whipped cream. Top it all up with dark chocolate shavings and you have a winning dessert.
Tag @apinchofzing on Instagram if you make this dessert or leave a comment below to let me know what you think 😊
Ingredients
Biscuit base
400g Digestive biscuits
50g melted vegan spread
Date caramel 8-10 Medjool dates
1 teaspoon vanilla extract
a pinch of salt
Method
1. Use a food processor to pulse the biscuits to a breadcrumb consistency. Pour in the melted vegan spread and combine well. Press the biscuit mixture into the base of a 9 inch cake tin/dish and refrigerate.
2. To make the date caramel, start by soaking the dates in boiling water for 10 minutes. Remove the dates from the water and save the liquid. Add the dates, vanilla extract and a pinch of salt to a blender and whizz until smooth. If the caramel is too thick, you can add some of the liquid the dates were soaked in, to thin it out. 3. To make the whipped cream, add the double cream, sugar and vanilla extract to a bowl and whisk until thick.
4. Time to assemble the pie. Spread the date caramel over the biscuit base. Place the banana slices on top of the caramel. Pipe the whipped cream on top of the banana layer and grate the dark chocolate over the cream.
5. Place the pie in the fridge and leave to set overnight before serving. Enjoy!
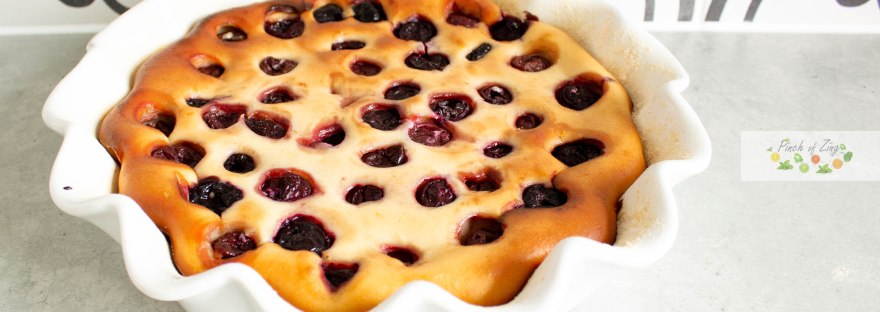
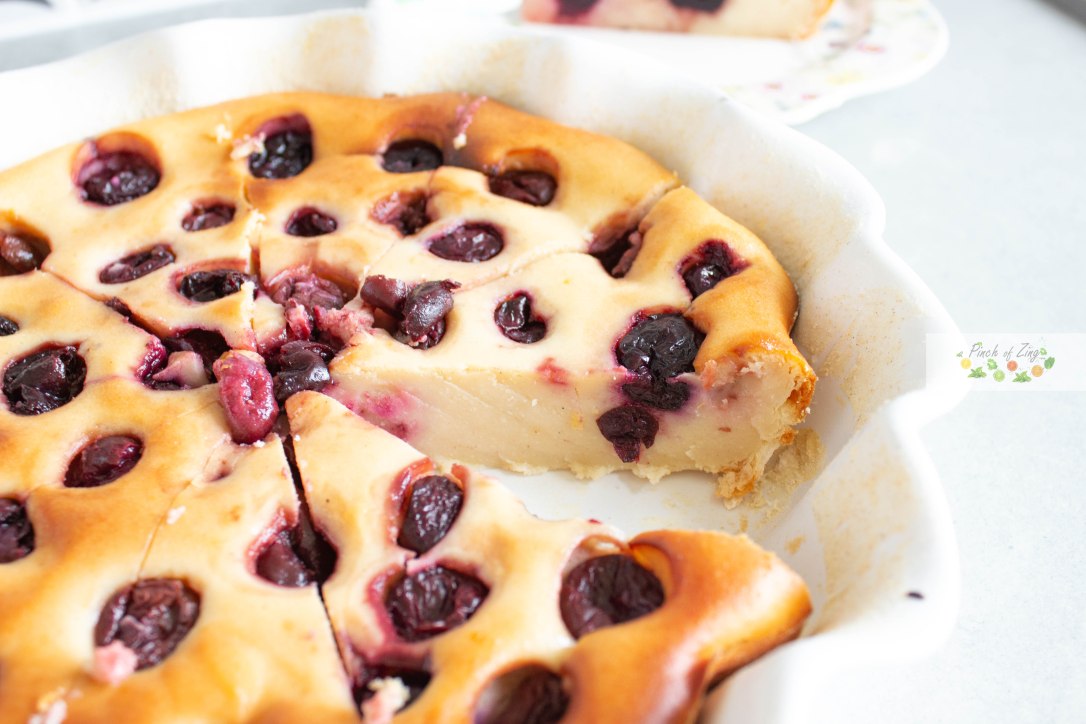
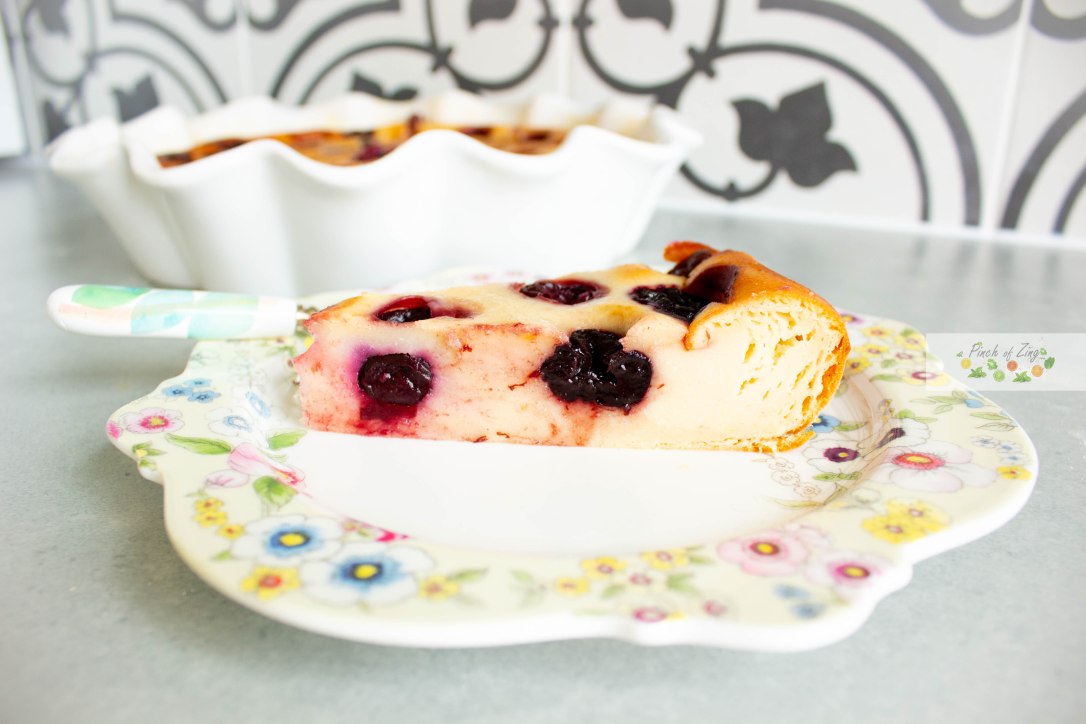
Clafoutis is a sophisticated French dessert, with a thick flan-like batter and black cherries.
My husband introduced me to this dessert by making it for me recently and I was hooked.
It is really too good to keep it all to myself, so if I can’t make it for you, I can at least share the recipe so you don’t miss out.
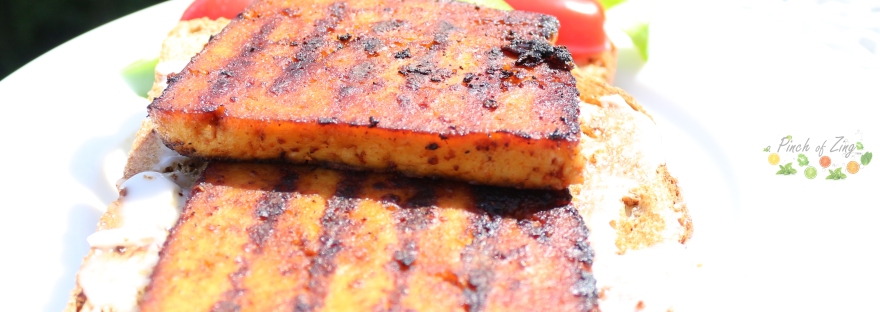
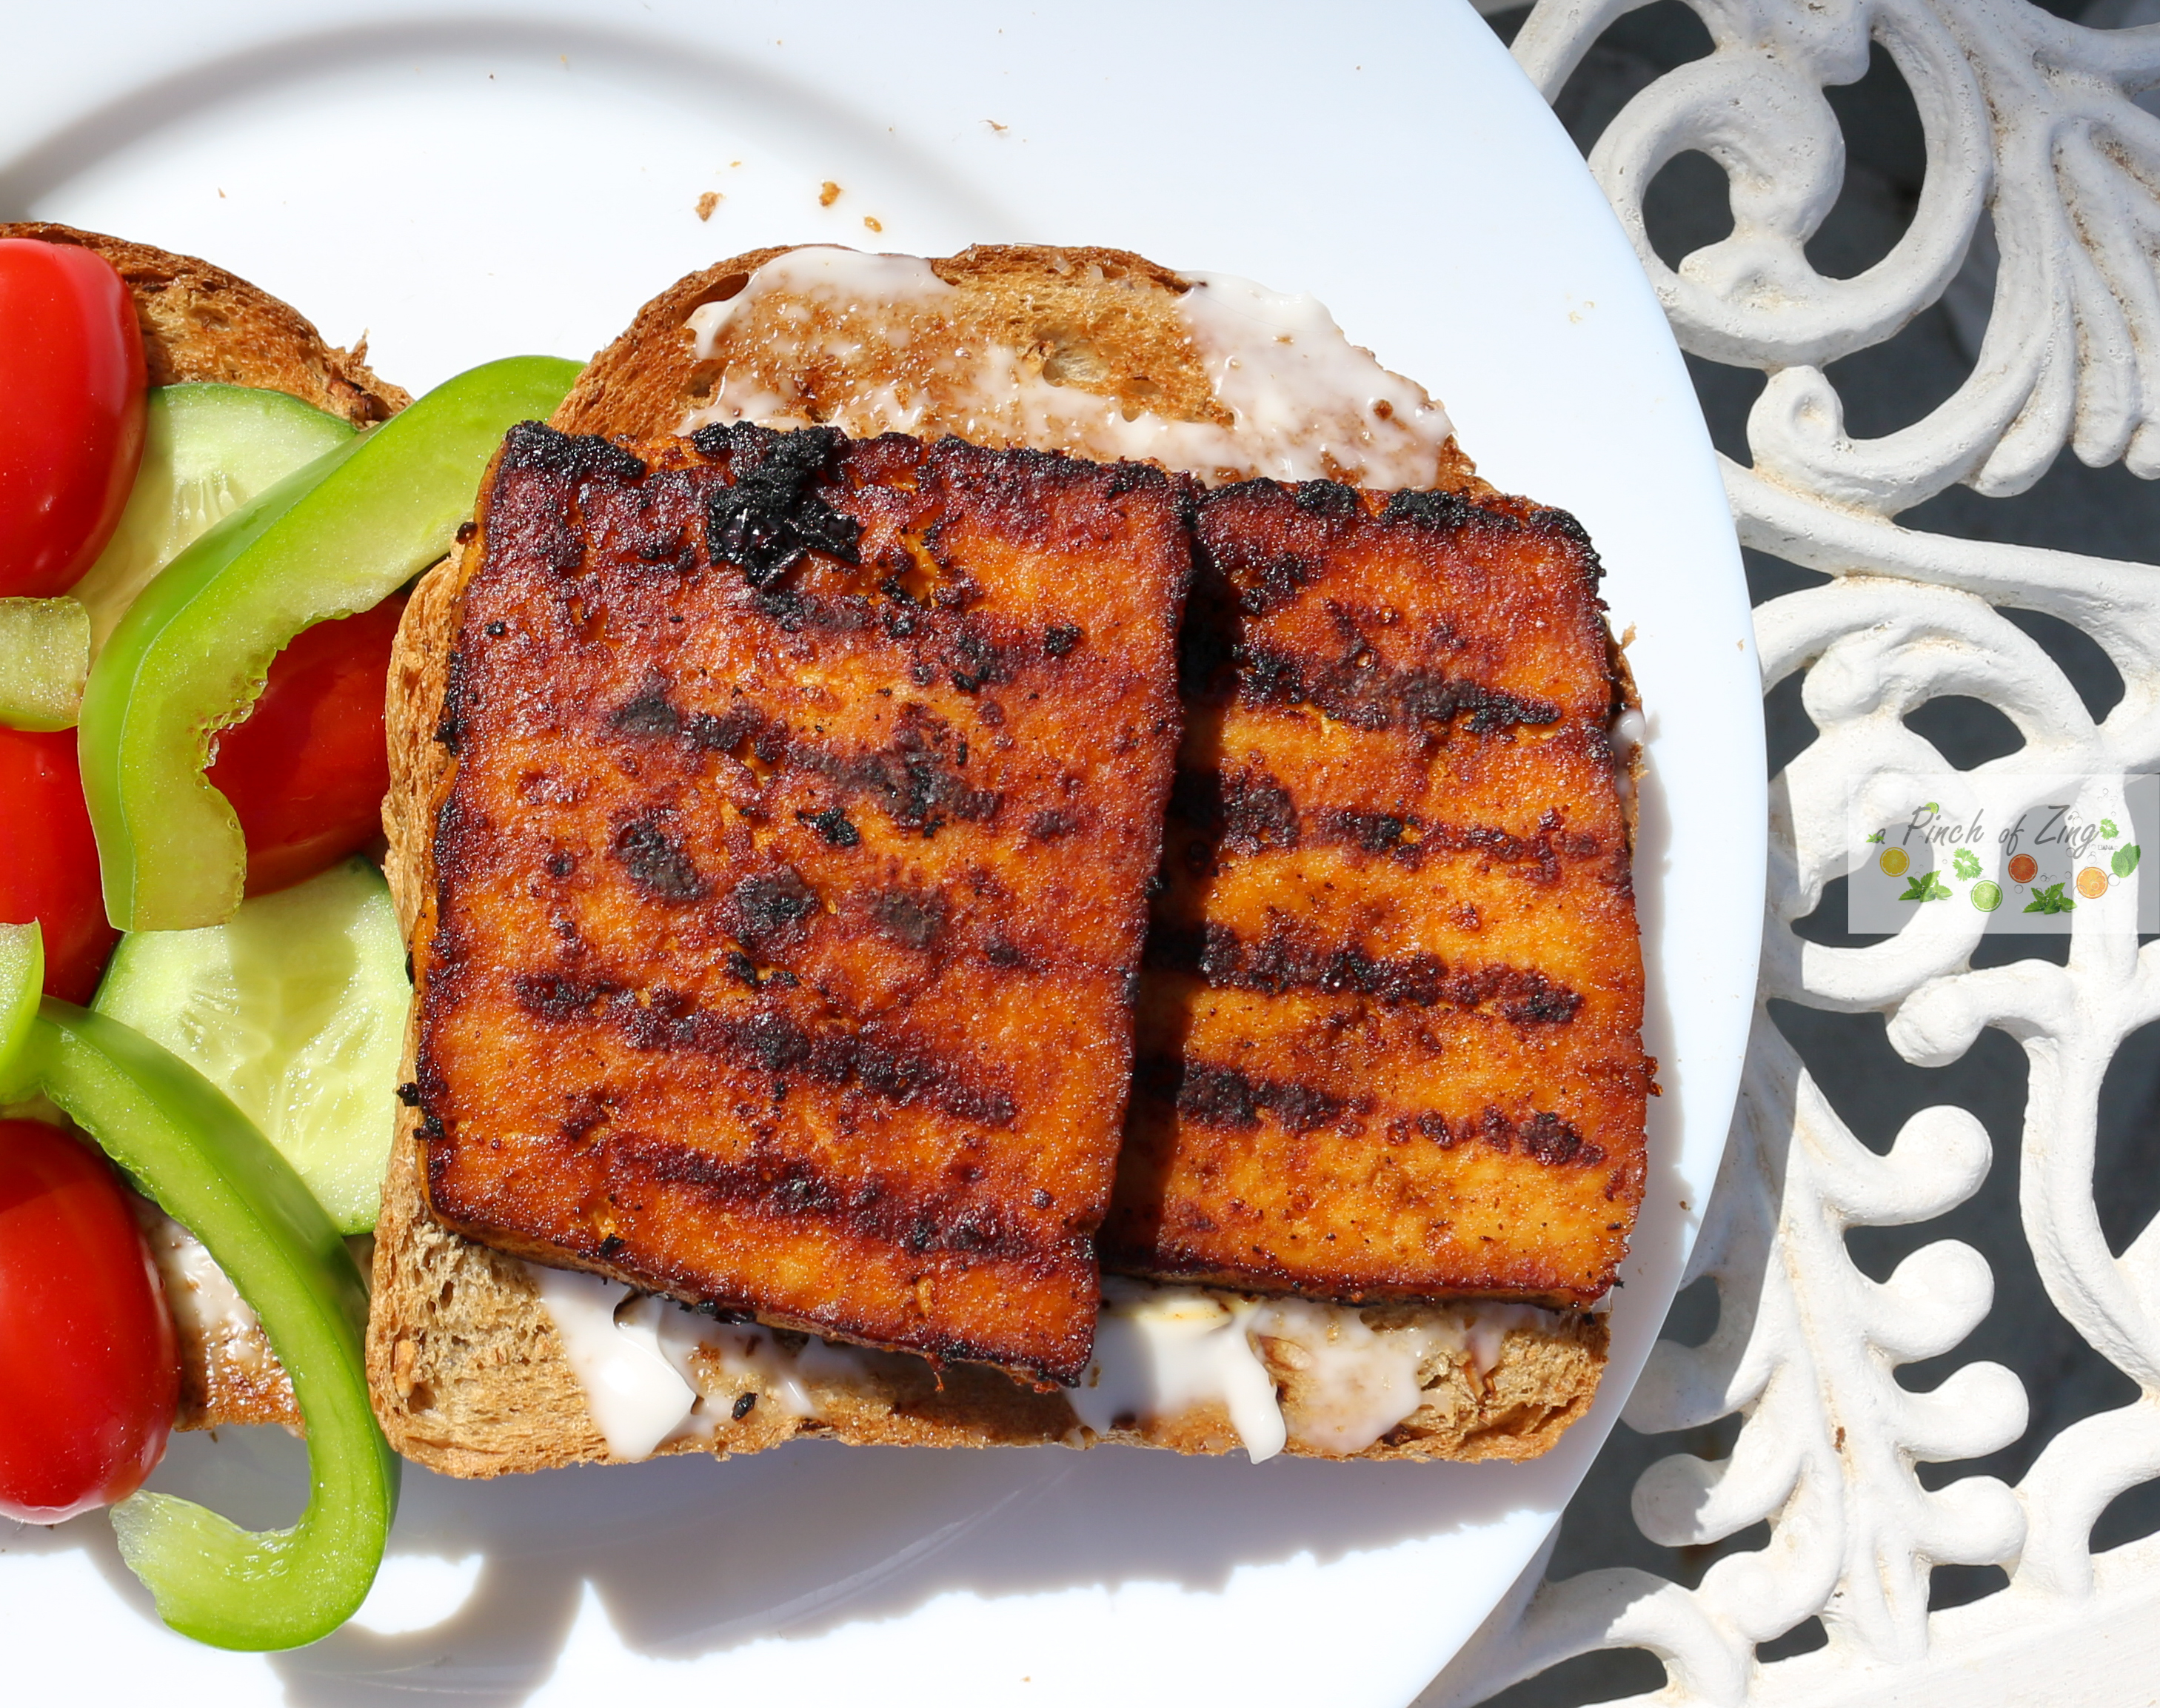
This must be my favourite way to eat tofu nowadays 😊
Black cherries are not easy to come by in UK, but Sainsbury’s do frozen black cherries, so we defrosted them before use. Need be, you can make this dessert with other summer fruit.
I hope you like this dessert as much I do. Remember to tag @apinchofzing on Instagram if you give it a try.
Ingredients
350g silken tofu
180ml soy milk
120g sugar
1 small lemon (zest and juice)
25g vegan butter (melted)
2tsp vanilla extract
1tsp almond extract
120g plain flour
80g ground almonds
20g corn starch
1 tsp baking powder
a pinch of salt
extra flour and vegan butter to coat the pie dish
200g pitted black cherries
1 tablespoon icing sugar for decorating
Method
Preheat the oven to 170 C. Prepare a 22cm tart dish by coating it with vegetable butter and flour.
In a food processor, blend the tofu and soy milk together until smooth.
Add in the sugar, zest and juice of a lemon, melted butter, vanilla and almond extract, and blend again until combined.
Next add in the flour, ground almonds, corn starch, baking powder and salt. Blend again until fully combined.
Pour the batter in the pie dish and add the cherries on top.
Bake for 40 minutes. Enjoy warm or cold, but remember to sprinkle some icing sugar on top just before serving.
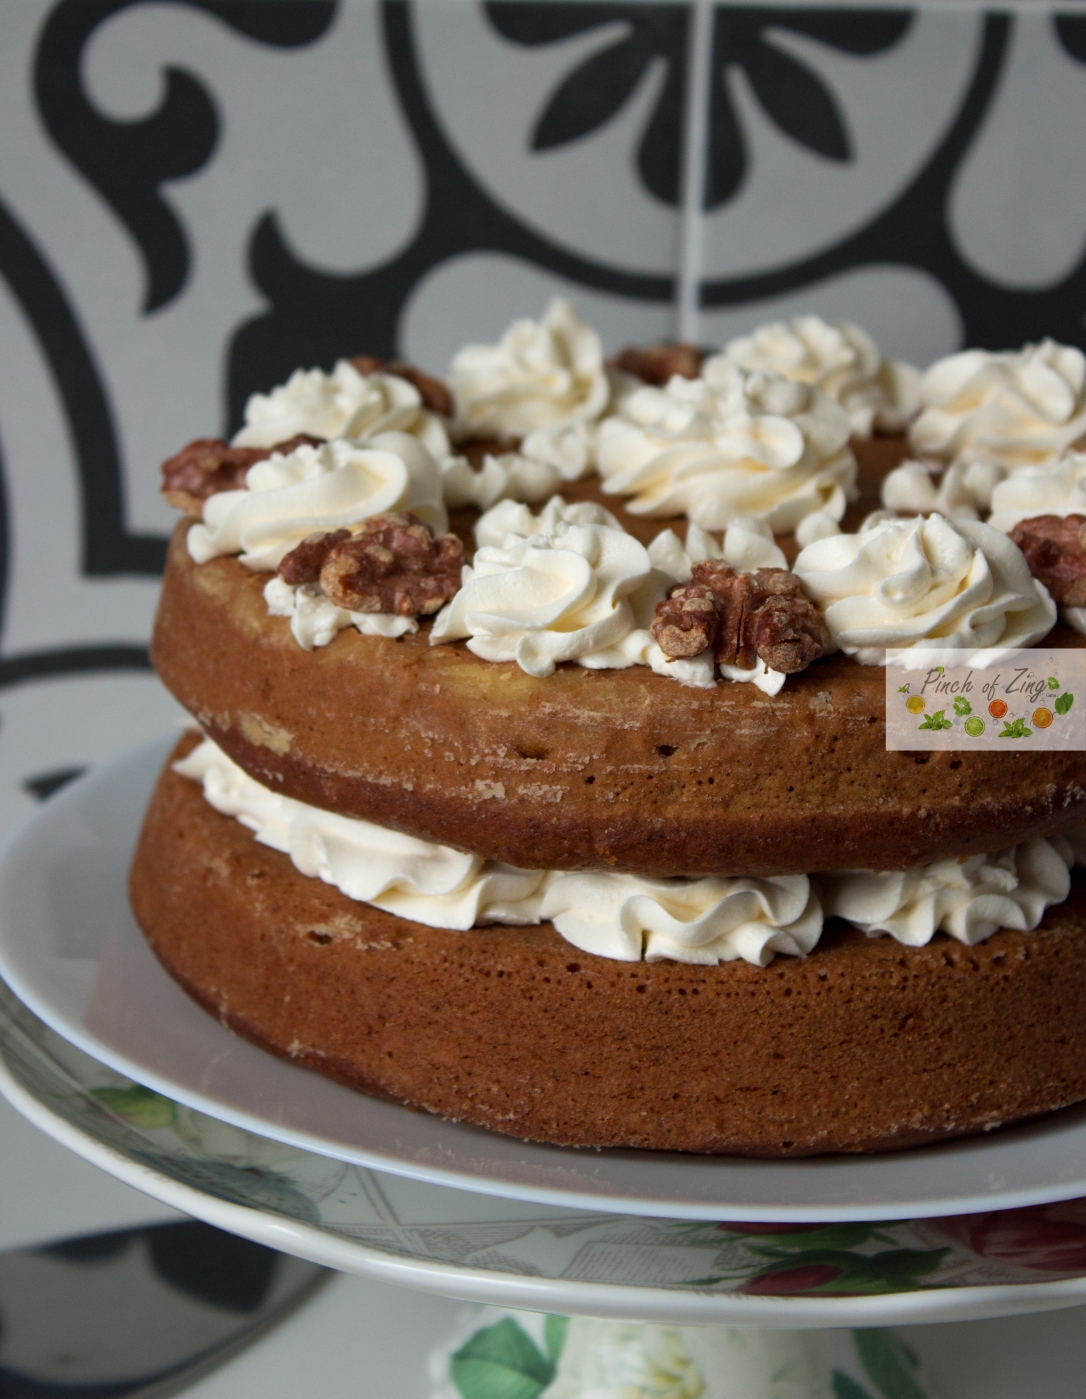
A combination of bold flavours make this cake a great choice for a sophisticated dessert.
This is the only recipe you’ll ever need for an exquisite coffee and walnut cake.
I make this cake all the time! I should have shared this gem of a recipe sooner, but here it is, better late than never 😊
In case you are wondering, no one will be able to tell this cake is vegan, it’s just delicious.
Ready to bake this? Remember to share a photo and tag @apinchofzing on Instagram. Enjoy!
No – Buttercream 100g vegetable spread 150g icing sugar (sifted)
1 teaspoon vanilla extract
1 teaspoon coffee or Tia Maria
Method
Mix the instant coffee with 2 tablespoons of boiling water and leave to cool down.
Preheat the oven to 180 C. Grease with vegetable spread and coat in flour, two 20cm round cake tins.
In a large bowl mix the flour, sugar and baking powder.
In a large jug mix the plant milk, coffee mixture (step 1) and oil. Add this to the large bowl with the dry ingredients and mix until combined.
Stir in the chopped walnuts and divide the mixture between the two cake tins.
Bake for 30 minutes. Once baked, remove from the cake tins and leave to cool down completely before moving on to the no-buttercream.
To make the no-buttercream, use a stand mixer to cream the vegetable spread with sifted icing sugar, vanilla extract and coffee/Tia Maria. Mix until pale and fluffy (about 5 minutes on high speed).
Assemble and decorate the cake. Add some roasted walnuts on top. Enjoy with a nice cup of tea.
Let’s talk Tofu. Let’s keep it simple. Do you like it? Do you cook it? Do you avoid it? I used to avoid it. I had a few failed attempts cooking it and my experience when eating out was also a bit hit and miss, so I started to think that it’s just not for me. What changed? I had some amazing tofu dishes at Wagamama and I met someone with more experience on the matter, who gave me some tips and words of encouragement. Turns out tofu is extremely versatile. After a few more attempts I think I have mastered the basics and I very much like tofu. If you too are struggling with tofu, the information I am about to share may come in handy.
Tofu – check your facts Tofu is a soy based food that comes in a few varieties in UK. There are a lot of myths about soy based foods; the fact is, soy is associated with health benefits. Check your facts using a reliable source, I recommend NutritionFacts.org Soy is also a common allergen, so before you sneak a tofu cheesecake to the next family gathering, check that no one is allergic to it.
Not all tofu is made equal Using the appropriate variety of tofu is crucial. Tofu varieties are ranging between Silken and Extra Firm. I can’t even begin to tell you the pain of trying to fry Silken tofu…
Pressing tofu Pressing tofu, is apparently a thing. In my experience pressing Silken tofu is challenging because it literally falls apart. I go as far as draining the liquid and gently patting it down with paper kitchen towels. As far as the Extra Firm tofu goes, I buy the ToFoo Tofu and skip the pressing step completely. This particular brand of tofu doesn’t need pressing! A small difference that makes a big difference when you start cooking and realise that you forgot to start pressing the tofu the night before (it surely doesn’t only happen to me). If you insist on pressing your tofu, you can buy a tofu press or simply wrap it in kitchen paper towels and place it between two chopping boards with a heavy book on top.
Cooking with Silken tofu Silken tofu is usually found on the shop shelves and is not refrigerated. I use Silken tofu to make vegan cheesecakes. Some of my favourite tried and tested recipes are: Chocolate Orange Cheesecake Baked no-cheese cheesecake
Chocolate, cherries and cream – heaven! Don’t know about you, but I can’t think of many combinations better than this one.
The black forest cake is one of my favourite cakes and surprisingly easy to make. It’s as simple as chocolate sponge, chocolate cream, butter cream, cherries and cherry syrup. Every element is quick and easy to make with basic ingredients. The chocolate cream is a game changer; you won’t believe how delicious whipped chocolate ganache can be! And now you know how to make the most amazing chocolate cream for any cake in just 5 minutes. For the Black Forest cake you can use fresh cherries, cherries in syrup or cherry jam. I’ve used fresh cherries on this occasion because they are in season. I’ve left the best news for last! You will end up having leftover ingredients to make yourself a little cake to test before serving this to your guests. You know…for quality testing 😊 The chocolate sponges turn out quite domed, so you will need to cut the top off to level them; use that extra sponge for your mini cake. There’s also going to be some leftover cream; just enough for you to build your mini cake. Remember to save yourself some cherries and syrup for that as well. Enjoy a real treat with your loved ones. No one will believe this is vegan!
Ingredients
Chocolate sponge 1 tablespoon Flora buttery and 1 tablespoon flour to coat the cake tins 1 and ½ cup soy milk 2 teaspoon cider vinegar or lemon juice 2 & 2/3 cups plain flour 1/3 cup cocoa powder 2 teaspoons baking powder ¼ teaspoon baking soda ¾ cup sugar a pinch of salt ½ cup rapeseed oil 1 teaspoon vanilla extract
Chocolate cream 200g dark chocolate 200ml coconut milk (from a can)
Syrup 50ml cherry brandy 75ml cherry syrup (from a jar of cherries in syrup)
Other ingredients 200g cherries or cherry jam
Method
Chocolate sponge 1.Preheat the oven to 190C. Grease with Flora buttery and coat in flour, two 20cm round cake tins. 2. Heat up the milk for 30 seconds in the microwave and add the cider vinegar. Leave to curdle and move to the next step. 3. In a large bowl mix the dry ingredients (flour, cocoa powder, baking powder, baking soda, sugar, salt). 4. Add in the wet ingredients (curdled milk, oil and vanilla) and mix together until combined. 5. Split the mixture between the two cake tins. 6. Bake for 20 minutes. Remove from the oven and leave to sit in the cake tins for 5 minutes. After 5 minutes, remove from the cake tins and leave to cool on a wire rack.
Chocolate cream 1. Use a microwave safe medium size bowl. Break the chocolate into chunks and add it to the bowl with the coconut milk. Heat in the microwave for 30 second intervals and mix with a spoon after every 30 seconds, until melted and combined. It took me about 3-4 30 second intervals. Do not over heat the mixture as the chocolate could burn and that will ruin the cream. 2. Leave the resulting chocolate ganache to cool down completely and set. You could also place it in the fridge to speed up the process. 3. Use a hand/stand mixer to whip the chocolate ganache until it becomes fluffy and light (2-3 minutes).
Buttercream Sift the icing sugar. Use a hand/stand mixer to cream the Flora buttery with sifted icing sugar and vanilla extract. Mix until pale and fluffy (about 5 minutes on high speed).
Syrup Mix the cherry brandy and cherry syrup in a jug.
Assembling the cake 1. Remove the pips from 2/3rd of the cherries. Keep the rest of the cherries whole for decoration. 2. Level the sponges by cutting off the domes with a sharp knife. Keep the leftovers for a mini test cake. 3. Put each cream in its own piping bag. 4. Place one chocolate sponge on a plate. Soak the sponge with half of the syrup. Pipe chocolate and butter cream alternating. Top with most of the pitted cherries and keep a few cherries for decoration. Place the second chocolate sponge on top. Soak the sponge with the rest of the syrup. Pipe chocolate and butter cream alternating. Decorate with more cherries. Place the cake in the fridge and remove a couple of hours before serving to bring it to room temperature. 5. Use the leftover sponge, creams and cherries to make yourself a mini cake (for quality testing purposes). You’ve earned it for baking such a wonderful cake for your loved ones 🙂