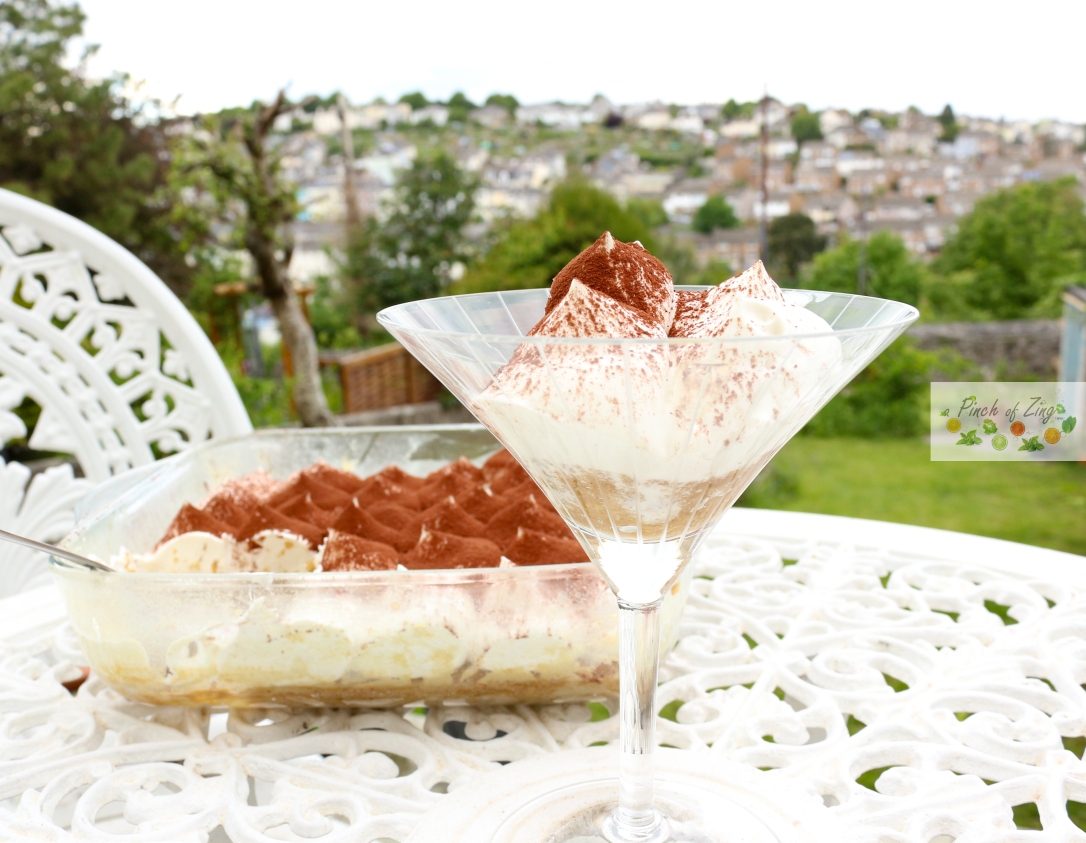
My favourite coffee flavoured dessert that instantly cheers me up!
Tiramisu meaning “pick me up” or “cheer me up” is a coffee-flavoured Italian dessert.
Creamy and light, with coffee and Amaretto; it’s the perfect dessert in my books!
Since going vegan, this was one of the sweet treats that I started to miss. What choice did I have? I had to make a vegan version. Successfully veganised!
It wouldn’t have been possible without the vegan Elmlea double cream. I had to go out of my way to get the vegan Elmlea, but it was well worth it. I have since also used it to make banoffee pie and key lime pie. Recipes coming soon, I am running a bit behind. Believe it or not, I cook more than I get to write about on this blog.
I hope this dessert cheers you up!
Ingredients
Cake sponge
125ml almond milk
1/2 teaspoon lemon juice
110g self raising flour
100g sugar
a pinch of salt
3 tablespoons vegetable oil
1 teaspoon vanilla extract
Syrup
100ml strong espresso coffee
100ml Amaretto or Masala wine
Chantilly cream
270ml Elmlea Plant Double Alternative to Dairy Cream
2 tablespoons sugar
A few drops of vanilla extract
1 teaspoon cocoa powder for dusting
Method
1. Preheat the oven to gas mark 4. Butter and coat in flour a 20x20cm Pyrex dish.
2. Warm up the milk in the microwave for 30 seconds and add the lemon juice. Leave to curdle.
3. In a medium bowl mix the flour, sugar and salt. Add the curled milk, oil and vanilla extract. Mix all the ingredients until combined.
4. Pour the cake batter in the greased Pyrex dish and bake for 20 minutes. Allow to cool off.
5. Make the strong espresso coffee and leave to cool off.
6. To make the Chantilly cream, whisk the double cream, sugar and vanilla extract until thick.
7. Soak the cake sponge with the cold coffee and Amaretto. Pipe the Chantilly cream and dust with cocoa powder. Chill in the fridge for a couple of hours before enjoying.
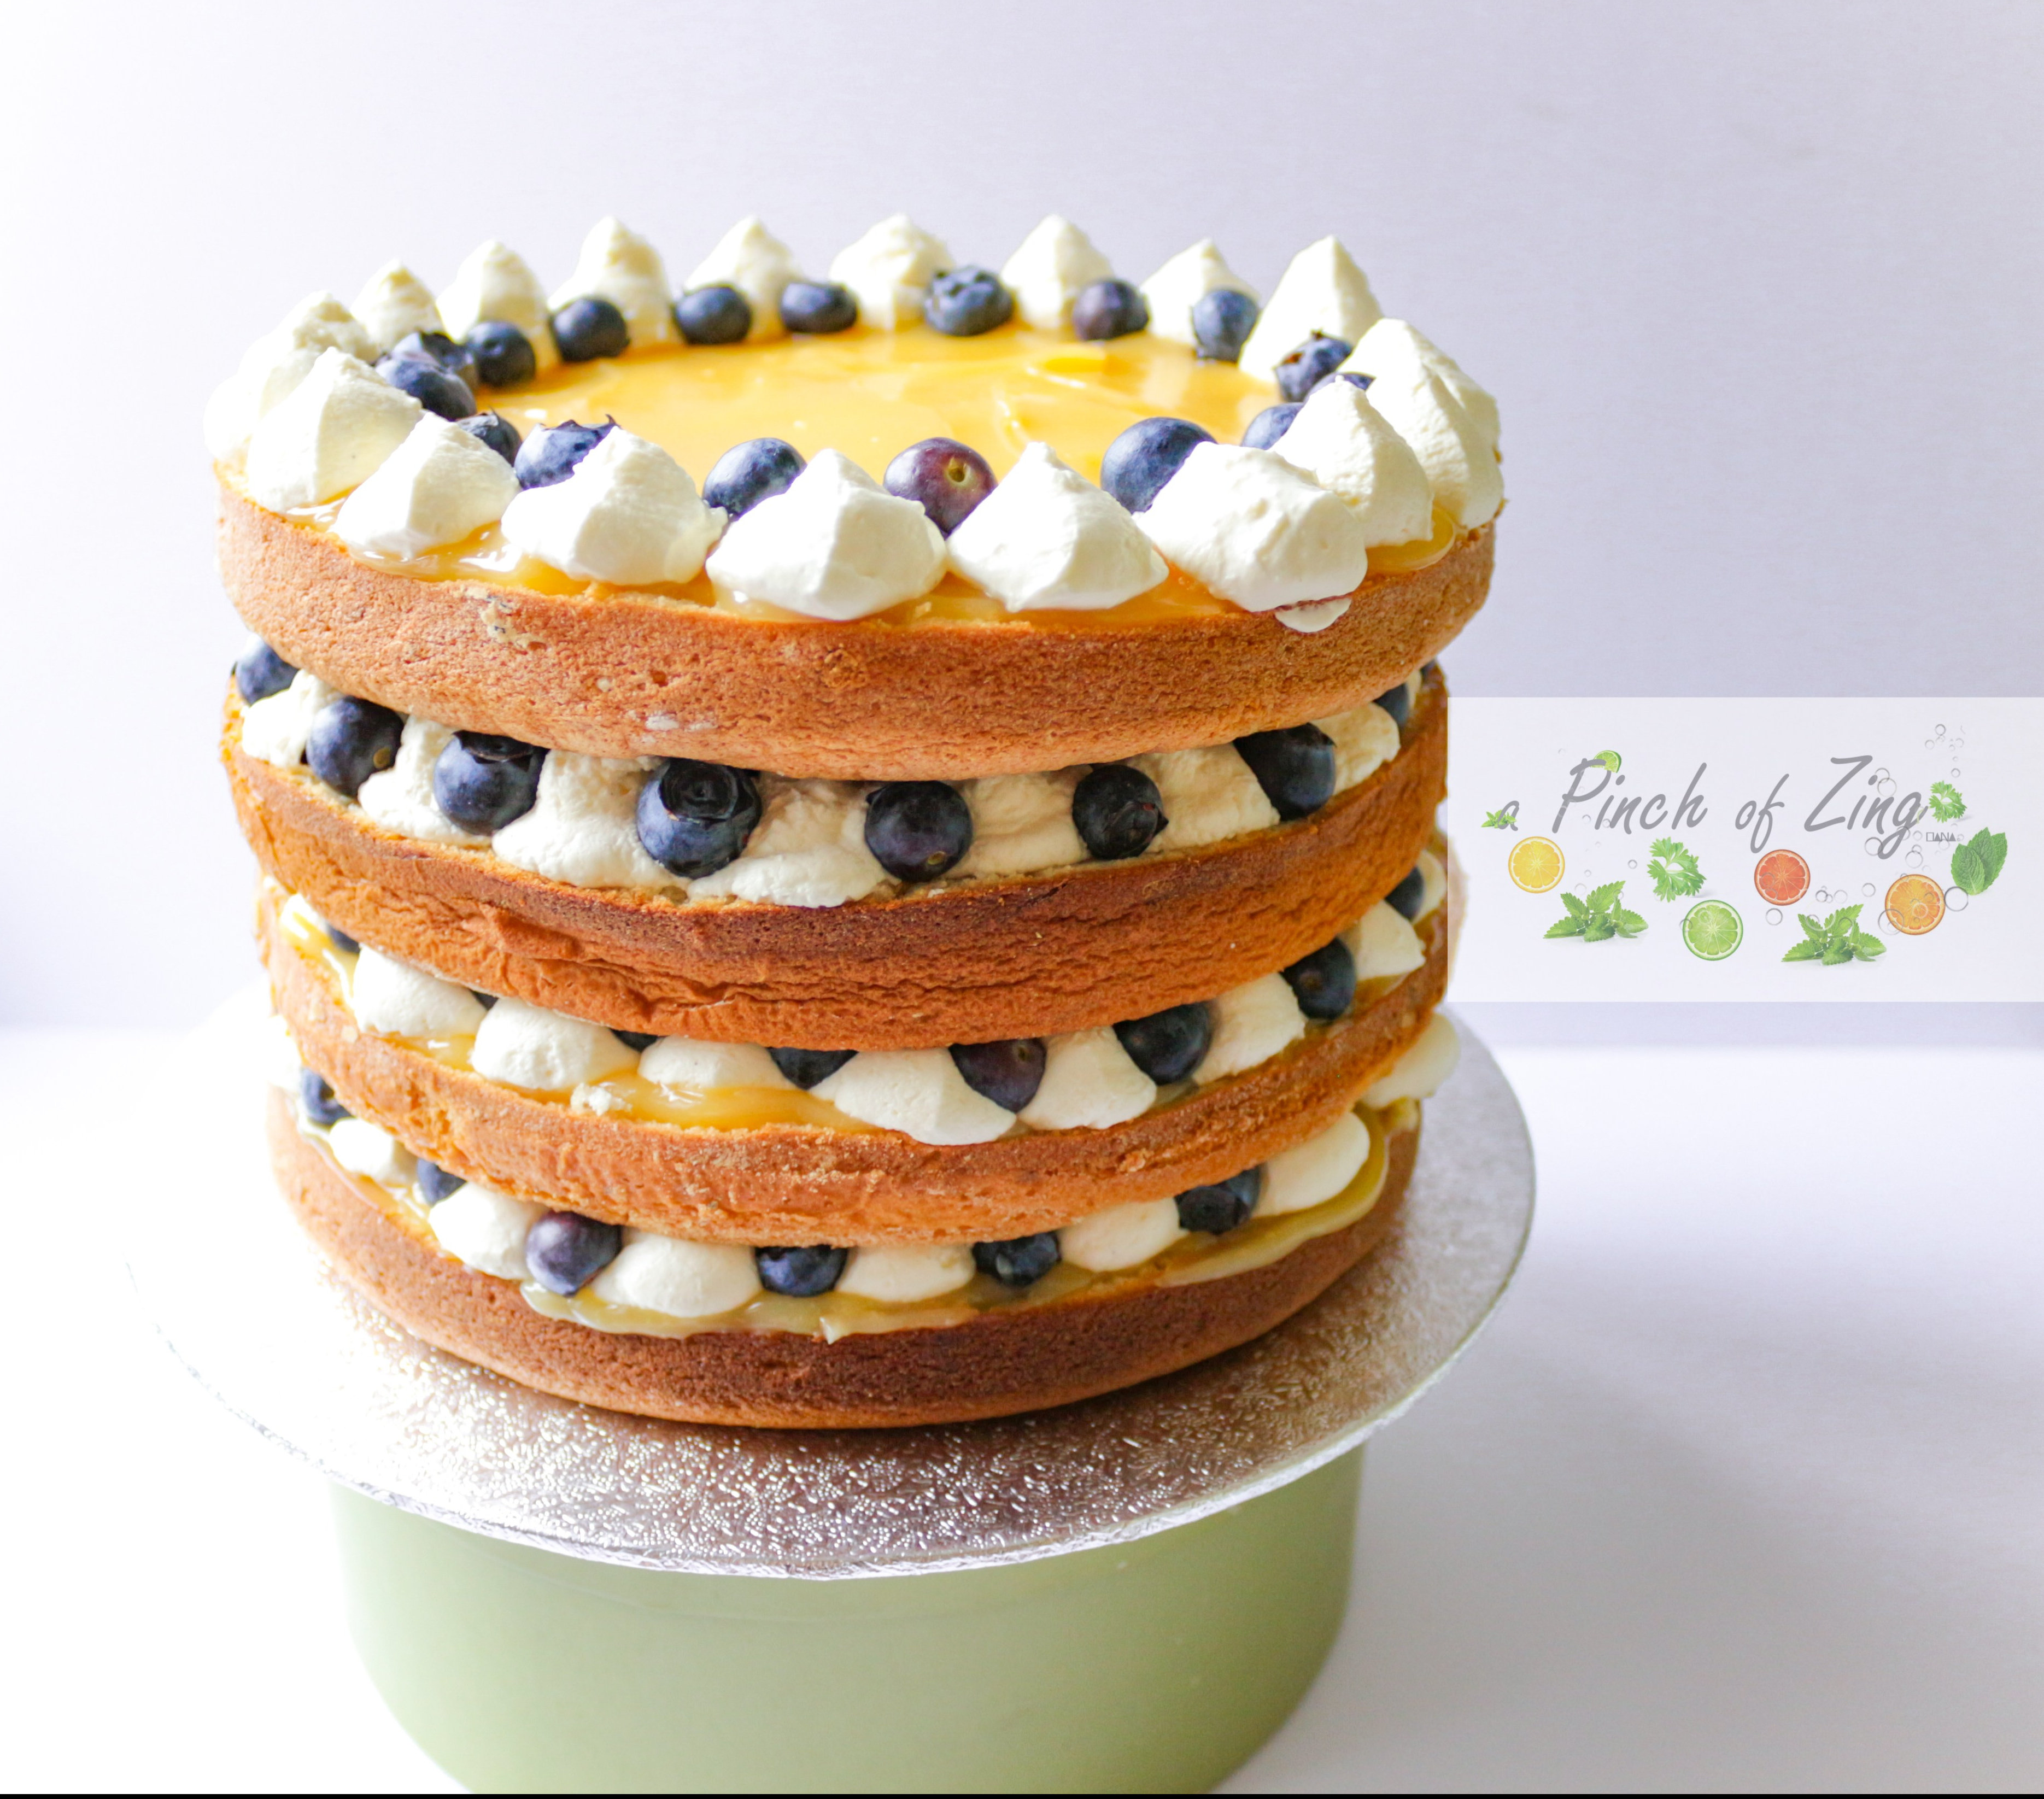
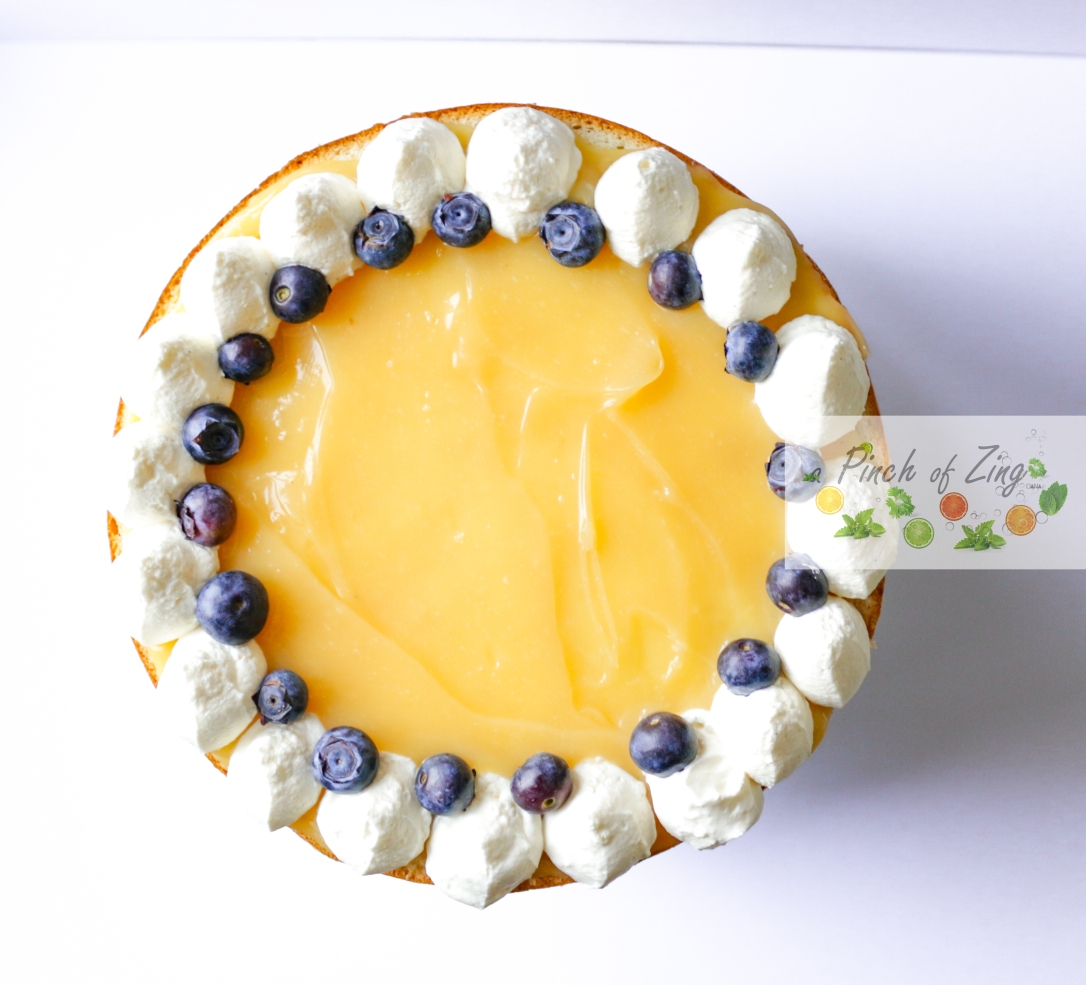
The lightest lemon cake sponge with sweet Chantilly cream, zesty lemon curd and juicy blueberries!
All you need to do is master the art of making the sponge cake and everything else will fall into place to make this heavenly cake. I made my own Chantilly cream, which is just a fancy way of saying whipped cream, so don’t be intimidated; I used shop bought lemon curd because I didn’t have the time to make my own; and topped it all up with fresh blueberries. What a great way to get some antioxidants after the Christmas holidays.
The inspiration for this cake was my mother in law, who’s birthday is in January. After all the Christmas chocolate and cakes, this combination felt like a welcome breath of fresh air. Hope you enjoy it as much as we did!
Method
1. Preheat the oven to gas mark 6. Butter and coat in flour two 8inch round cake tins.
2. Separate the egg whites and yolks form 6 eggs. Place the egg whites in a large mixer bowl and mix on high speed until white and fluffy. Add the sugar and mix on high speed until the sugar melts and the egg whites are stiff and shiny. From this point onwards, it is very important not to over mix the cake batter and keep the air in the mix, so I recommend using a balloon whisk. Add the vanilla extract, zest from one lemon, oil and egg yolks and whisk just enough to incorporate. Sift the flour and gently incorporate in the cake mix. The resulting consistency should be like a light mousse.
3. Pour half of the cake batter in each cake tin and level. Place both cake tins on the middle shelf of the preheated oven. Bake for 10 minutes at gas mark 6, then reduce the heat to gas mark 5 and bake for another 10 -12 minutes, until the sponges are risen and slightly shrunk away from the edge of the tin. Do not open the oven door before 20 minutes of baking, as this will cause the cakes to collapse.
4. Take the cake tins out of the oven and remove the sponge cakes straight away by turning the tins onto a wooden board. I recommend you use a wood surface or a surface covered with baking parchment, otherwise the cake will stick to the plate or other surfaces while cooling down (so don’t let them cool down in the tin). Once cold, slice each sponge in half using a sharp knife. This should give you four sponge layers to work with.
5. To make the Chantilly cream, add in a bowl the double cream, sugar and vanilla extract and whisk until thick.
6. Now to the fun part! Get your serving plate/stand ready for assembling and decorating the cake. Start with a sponge and layer with lemon curd, Chantilly cream and blueberries. Top with the next sponge cake and repeat until you have four layers of sponge cake, lemon curd, Chantilly cream and blueberries. Enjoy!
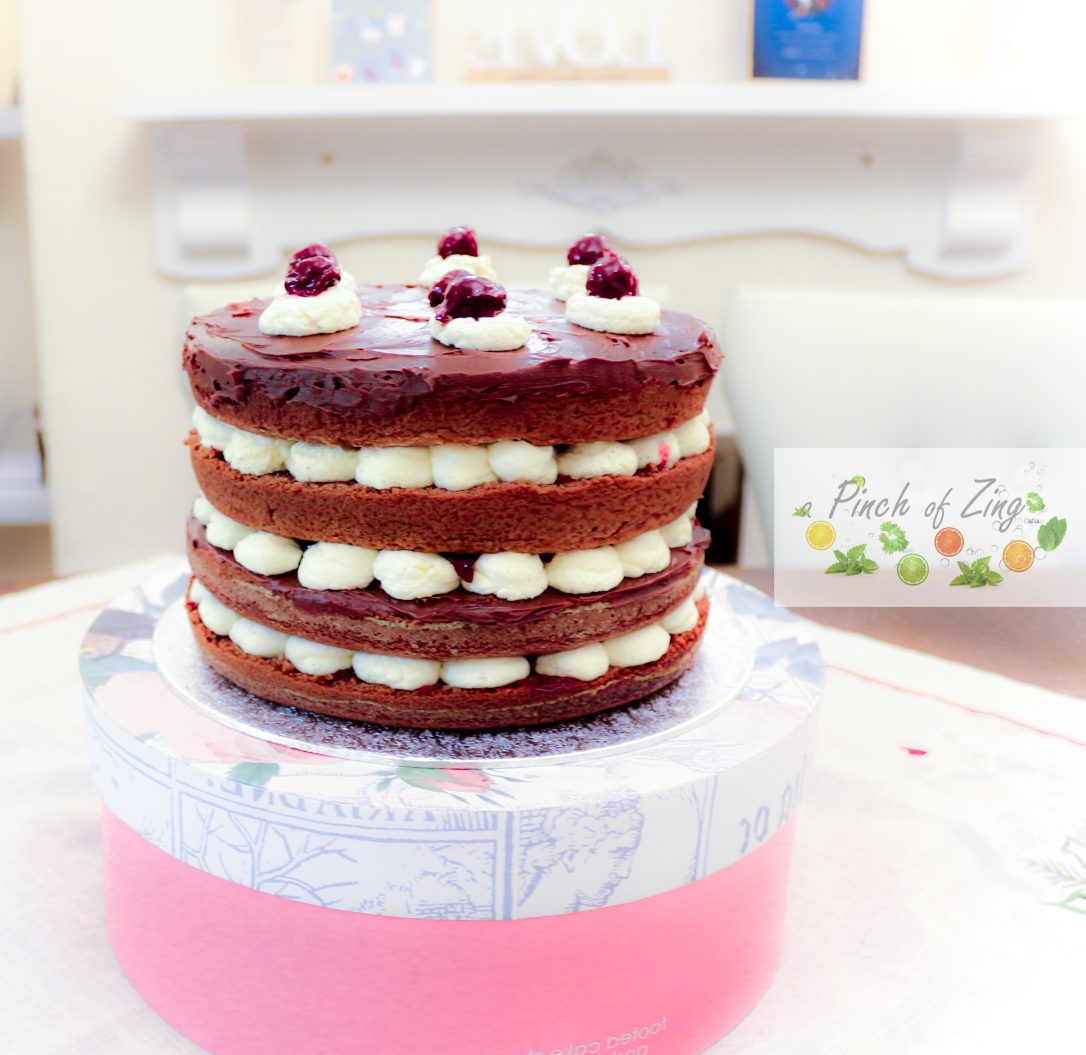
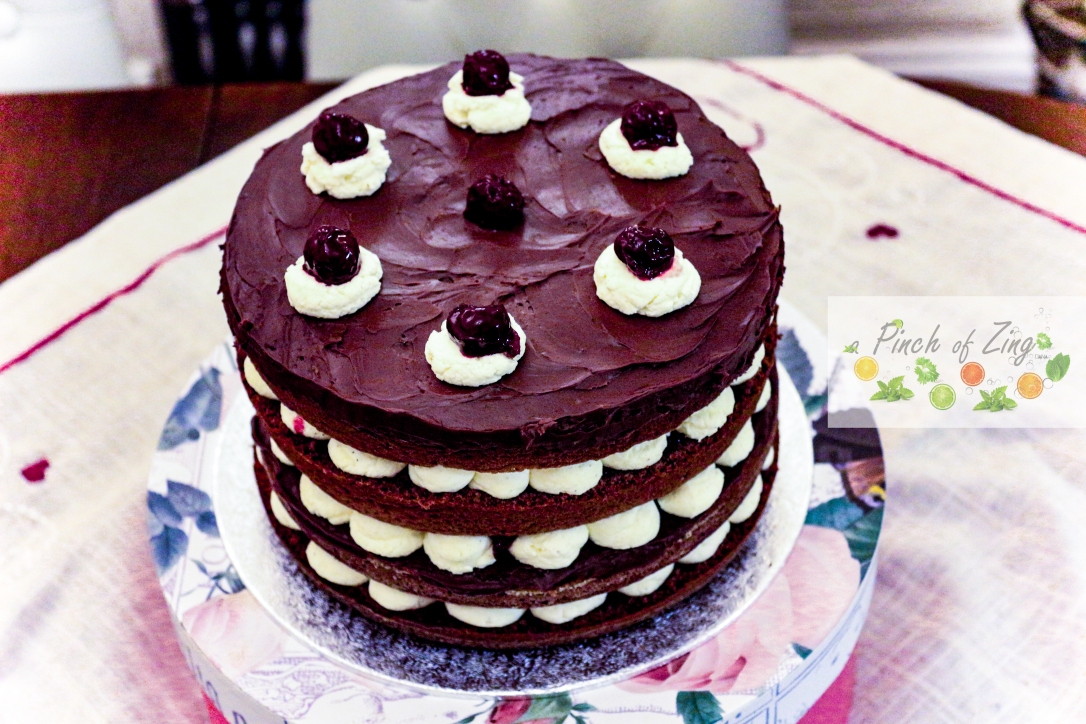
Juicy cherries, rich chocolate and fluffy Chantilly cream – what a way to impress your guests!
I first made this cake for the birthday of my sister in law this year. It was a surprise birthday cake and I was looking to make a cake that was special, but also a safe choice for all to enjoy.
It also had to be quick and easy to make as I only had the night before to make it, after a long day at work. Although the cake has numerous layers and looks quite impressive, the elements are basic and quick to put together. It’s all about planning! Start by making two chocolate sponge cakes and let them cool down while making the Chocolate Ganache; next make the Chantilly cream, drain the cherries and mix the cherry syrup with Cherry Brandy. Slice the sponge cakes in half and you are all ready to assemble the cake.
Have fun with it!
If you plan ahead, you can spread the work load by making the chocolate sponge cakes the day before (cool and store in an air tight container) and make the rest of the elements on the day.
1 jar Morello cherry compote (400g)
50-100ml Cherry Brandy
Method
1. Preheat the oven to gas mark 6. Coat in butter and flour two 8 inch round cake tins.
2. Separate the egg whites and yolks form 6 eggs. Place the egg whites in a large mixer bowl and mix on high speed until white and fluffy. Add the sugar and mix on high speed until the sugar melts and the egg whites are stiff and shiny. From this point onwards, it is very important not to over mix the cake batter and keep the air in, so I recommend using a balloon whisk. Add the vanilla extract and egg yolks and whisk just enough to incorporate. Sift the flour and cocoa powder and gently incorporate in the cake mix. The resulting consistency should be like a light mousse.
3. Pour half of the cake batter in each cake tin and level. Place both cake tins on the middle shelf of the preheated oven. Bake for 10 minutes at gas mark 6, then reduce the heat to gas mark 5 and bake for another 10 -15 minutes, until the sponges are risen and slightly shrunk away from the edge of the tin. Do not open the oven door before 20 minutes of baking, as this will cause the cakes to collapse.
4. Take the cake tins out of the oven and remove the sponge cakes straight away by turning the tins onto a wooden board. I recommend you use a wood surface or a surface covered with baking parchment, otherwise the cake will stick to the plate or other surfaces while cooling down (so don’t let them cool down in the tin). Once cold, slice each sponge in half using a sharp knife. This should give you four sponge layers to work with.
5. To make the Chocolate Ganache: in a small sauce pan, over low heat, add the double cream and constantly stir until it starts to slightly simmer. Remove from heat. Stir in the roughly chopped chocolate. Slowly stir through the cream until the chocolate melts and forms a Ganache. Mix in the butter and leave the Ganache to cool.
6. To make the Chantilly cream: in a mixing bowl add the double cream, sugar and vanilla extract and whisk until thick.
7. Drain the cherries and save the cherry syrup in a bowl. Mix the cherry syrup with the Cherry Brandy. You will use this syrup to soak the sponges with.
8. You now have all the elements to assemble the cake. Place sponge no. 1 on a cake plate and soak with 1/4th of the cherry syrup. Add 1/4th of the Chantilly cream (you can pipe the cream or use a knife spread over the sponge) and 1/4th of the cherries. Top with sponge no. 2 and soak the sponge no 2. with 1/4th of the cherry syrup, top with ½ of the Chocolate Ganache, 1/4th of the Chantilly cream and 1/4th of the cherries. Top with sponge no. 3 and repeat. Top with sponge no. 4 and repeat. The end! Enjoy 🙂
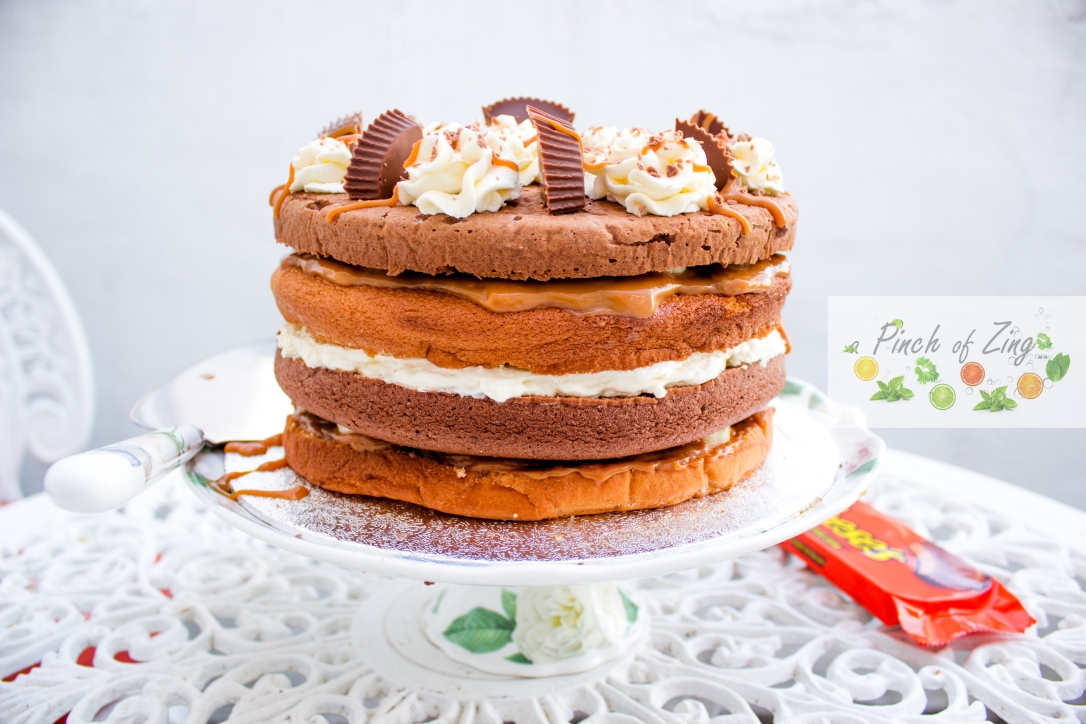
Banoffee pie upgraded to a celebration cake!
A winning combination: banana, caramel, whipped cream, peanut butter & chocolate!
My family loves Banoffee pie, but because we were celebrating a birthday and I was feeling creative, I turned it into a celebration cake. The addition of peanut butter was my husband’s idea and it worked great with this cake. To lighten up the cake, I used my fat free super light sponge (my mum’s recipe), which makes it hard for people to stop eating the cake.
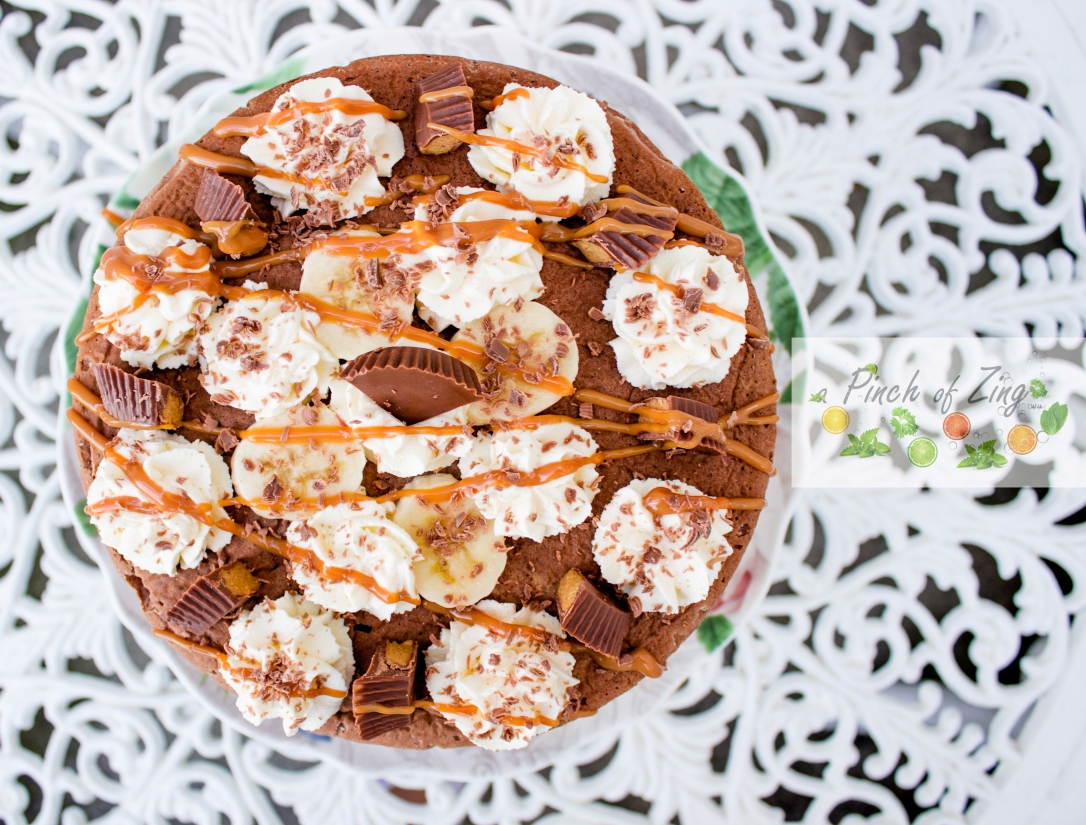
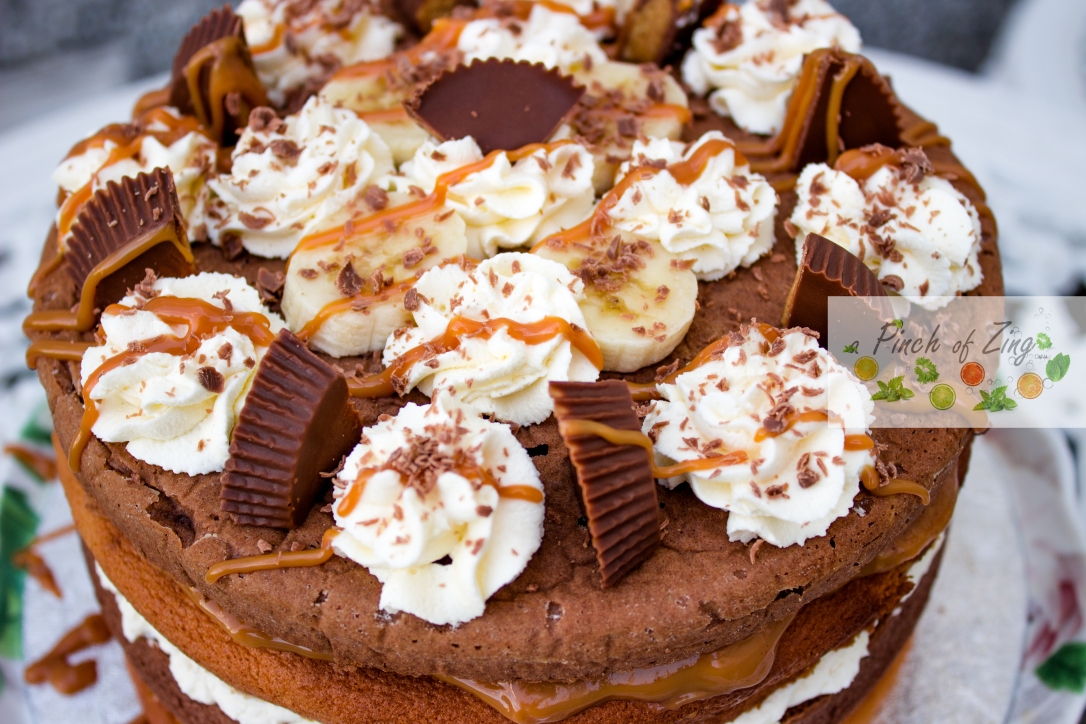
Assembling and decorating the cake was so much fun! I would love to see how you decorate this cake.
I hope you enjoy this cake as much as we did!
Method
1. Preheat the oven to gas mark 6. Butter and coat in flour two 8inch round cake tins.
2. Separate the egg whites and yolks form 6 eggs. Place the egg whites in a large mixer bowl and mix on high speed until white and fluffy. Add the sugar and mix on high speed until the sugar melts and the egg whites are stiff and shiny. From this point onwards, it is very important not to over mix the cake batter and keep the air in the mix, so I recommend using a balloon whisk. Add the vanilla extract and egg yolks and whisk just enough to incorporate. Sift the flour and gently incorporate in the cake mix. The resulting consistency should be like a light mousse.
3. Pour half of the cake batter in a cake tin and level. Sift the cocoa powder in the leftover cake batter and gently incorporate. Pour the leftover cake batter in the other cake tin and level. Place both the cake tins on the middle shelf of the preheated oven . Bake for 10 minutes, then reduce the heat to gas mark 5 and bake for another 10 -15 minutes, until the sponges are risen and slightly shrunk away from the edge of the tin. Do not open the oven door before 20 minutes of baking, as this will cause the cakes to collapse.
4. Take the cake tins out of the oven and remove the sponges straight away by turning the tins onto a wooden board. I recommend you use a wood surface or a surface covered with baking parchment, otherwise the cake will stick to the plate or other surfaces while cooling down (so don’t let them cool down in the tin). Once cold, slice each sponge in half using a sharp knife. This should give you four sponge layers to work with (two chocolate and two vanilla).
5. To make the whipped cream, add in a bowl the double cream, sugar and vanilla extract and whisk until thick.
6. Now to the fun part! Get your serving plate/stand ready for assembling and decorating the cake. Peel and chop the bananas in 1cm slices. Set aside for decoration about half of the whipped cream, some caramel and banana slices. Start with a vanilla sponge and layer half of the caramel, peanut butter and banana slices. Add a chocolate sponge on top of this and layer with the whipped cream and more banana slices. Next add the other vanilla sponge on top and layer the left over caramel, peanut butter and banana slices. At last top with the chocolate sponge, decorate and celebrate!